
|
Do it yourself
| |||
| ||||



How to Set the Date and Time on a Peugeot 3008
Model: Peugeot 3008
- Years:
2023, 2024, 2025, 2026
Video tutorial
To set the date and time on a Peugeot 3008, the procedure is done via the touchscreen. Press the settings icon in the top right corner next to the clock. In the menu, select the Date and Time option. At this point, for the date: tap the day and scroll up or down to select the correct one. Do the same for the month and year. Confirm with OK or go back with the arrow. For the time: press the hour button and select the correct hour. Confirm and then choose between 24-hour or 12-hour format. Finally, set the automatic update or automatic daylight saving time: if you wish to disable it, set it to OFF. In the video, the YouTuber disables the automatic update because daylight saving time has been abolished in Turkey. Then press the back button to complete. The date and time are now set.
Posted on 12 October 2026 by ScegliAuto
Related tutorials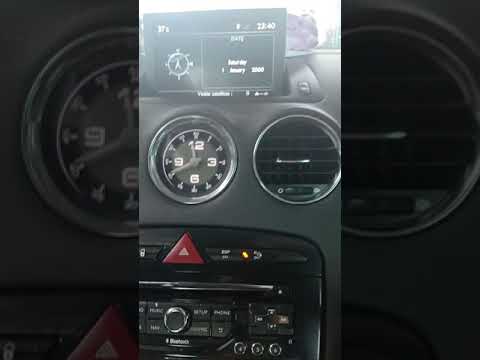
Peugeot 3008
(2016-2023 /
P84, MK 2)
Setting the time and date on a Peugeot 3008 is a very simple and quick operation that can be done independently, aided by our short video tutorial. T…

Peugeot 3008
(2016-2023 /
P84, MK 2)
Adjusting the date and time on a new generation Peugeot vehicle follows the same procedure. In this guide, we will use a Peugeot 3008 as an example. …
Peugeot 3008
(2009-2016 /
MK 1, T84)
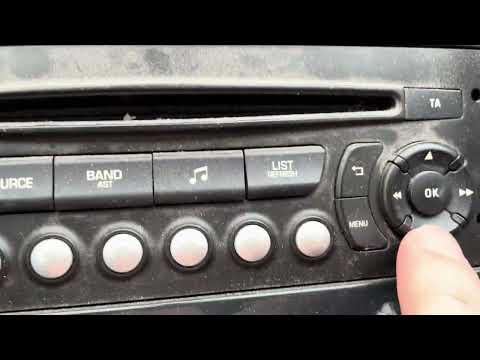
Setting the time and date on a 2009 Peugeot 3008 is a very simple and quick operation. First, turn on the instrument cluster and the onboard radio, t…
Other guides you may be interested in
|
How to Replace the Cabin Filter on the Ford Puma
To replace the cabin filter on the Ford Puma, detach the small cover located on the left side of the front passenger footwell: once this is removed, loosen the underlying screw so that you can detach the corresponding panel. At this point, locate the filter box underneath, which can be opened to remove the filter inside. The new filter can then be inserted, covering everything with the box and refitting the corresponding panel into its housing. by ScegliAuto More videos
|
|
For advertising on this site Write to info@scegliauto.com
ScegliAuto is not responsible for any inaccuracy of the data in the lists. To report any inaccuracy or your business (if you own the business in question), please write to info@scegliauto.com
Number of seconds to generate the page: 0.179
(c) ScegliAuto 2026 - info@scegliauto.com - Privacy policy VAT number: IT01247470535 |
