
|
Do it yourself
| |||
| ||||



How to Set the Time on the 2014 Peugeot 208 On-Board Computer
Model: Peugeot 208
MK 1, A9
- Years:
2012, 2013, 2014, 2015, 2016, 2017, 2018, 2019
Video tutorial
Today, you will adjust the clock on the on-board computer of the 2014 Peugeot 208. The operation is very simple and quick; after turning on the instrument panel and the on-board computer, select the "configuration" option to access the general settings menu, from which you will then select the "date and time" option. By pressing on the current time, you can modify it before returning to the main menu. From the clock menu, you can also change the format according to your needs. It is also possible to modify the date if desired.
Posted on 20 November 2026 by ScegliAuto
Related tutorials
Peugeot 208
(2012-2019 /
MK 1, A9)
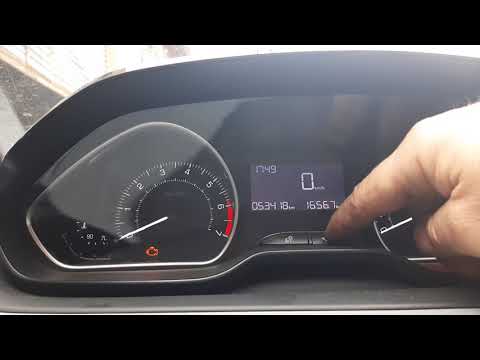
.. on a 2014 Peugeot 208, turn on the vehicle's on-board computer. From the on-board computer menu, select the "settings" option, indicated by the gear.. …
Peugeot 208
(2012-2019 /
MK 1, A9)
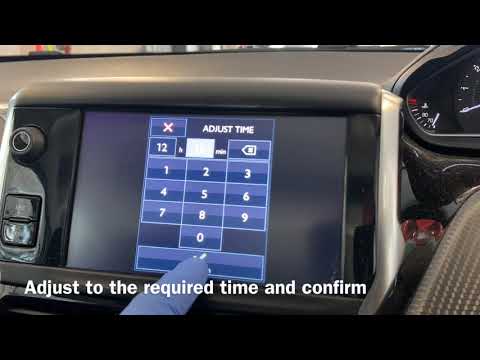
.. you how to set the clock on the Peugeot 208's onboard computer, following the instructions below. First, get in the car and turn on the instrument panel;.. …
Peugeot 208
(2012-2019 /
MK 1, A9)
..our car and navigate to the settings of the onboard computer from the central display; then go to the clock option to modify the date and time, as i.. …
ScegliAuto offers an extensive international collection of automotive tutorials available in 12 languages. Each guide combines instructional videos with original explanations written by experienced human editors, along with information about the car models covered.
Other guides you may be interested in |
Where is the battery located on the Aprilia Scarabeo 250ie scooter?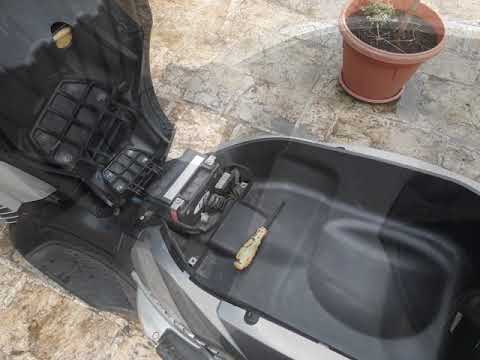
This video shows where the battery is located on the Aprilia Scarabeo 250ie scooter and how to proceed if you need to replace it. As shown, it is located beneath the seat. To access and replace it, first open the seat, then remove the plastic cover by unscrewing the relevant screws with a cross-head screwdriver. Next, disconnect both terminals, starting with the negative, remove the battery from its housing, and install the new replacement following the reverse procedure. by ScegliAuto More videos
|
|
For advertising on this site Write to info@scegliauto.com
ScegliAuto is not responsible for any inaccuracy of the data in the lists. To report any inaccuracy or your business (if you own the business in question), please write to info@scegliauto.com
Number of seconds to generate the page: 0.078
(c) ScegliAuto 2026 - info@scegliauto.com - Privacy policy - About us VAT number: IT01247470535 |
