
|
Do it yourself
| |||
| ||||


Installation of Aftermarket Xenon Headlight Kit
Model: Peugeot 307
MK 1
- Years:
2001, 2002, 2003, 2004, 2005, 2006, 2007, 2008, 2009
Video tutorial
To replace the original H7 dipped beam bulbs with a xenon lamp, you must first remove the headlights, which are positioned under the front bumper: the first operation is to remove the bumper (this is quite simple; just look for the screws that secure the bumper to the wheel arch and the central grille, then slide it off from the appropriate housings). Once the bumper is removed, unscrew the two headlight mounting bolts with a 10mm socket, lift the locking tab of the connector attached to the headlight, and disconnect it; then extract the headlight from its housing and it is advisable to place it on a comfortable work surface (a bench or trolley), on which it is also recommended to lay a cloth to avoid scratching the headlight. Remove the rubber protection cap from the bulb holder (specifically for the bulb you need to replace, which is positioned towards the outside of the headlight) and, using a utility knife, cut a circular portion to allow the new lamp's wires to pass through (use the first small circle drawn inside the cap as a reference). Then unclip the bulb securing clip and pull it out of its socket after ensuring it is not excessively hot, and disconnect the connector attached to it. Next, extract the new lamp from the packaging, taking care not to touch the bulb, insert it into the bulb holder (the position is fixed) and secure it by reattaching the clip. Connect the two faston connectors of the lamp to the connector previously disconnected from the original bulb. At this point, it is advisable to pass the wires through the hole made in the rubber cap and reattach the cap itself. Connect the other two connectors present on the lamp wiring to the corresponding ones on the control unit wiring (ensure that the control unit of the purchased kit supports the CANBUS serial standard), making sure to engage the locking tabs. Finally, connect the larger power connector to the control unit. Now you can reposition the headlight in its housing and reconnect the connector to check the operation of the new lamp and notice the difference compared to the other headlight that still houses the old H7. Tighten the headlight mounting bolts and find a suitable housing for the control unit that allows for secure fixing. Repeat the same operation on the other headlight and reassemble the bumper.
Updated on 2 February 2026 by ScegliAuto
Related tutorials
Peugeot 307
(2001-2009 /
MK 1)
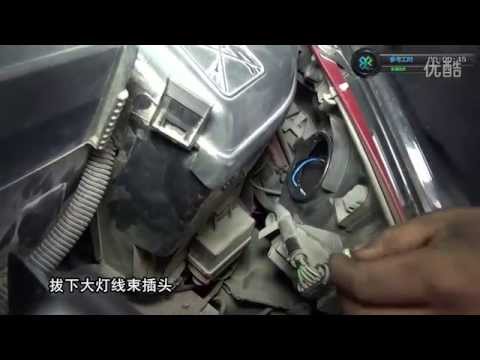
Improving night visibility is always advisable, so obtain the necessary modification kit and proceed as follows. Open the package of the new bulb, re…
Peugeot 307
(2001-2009 /
MK 1)
Let's see how to remove the front headlight bulbs on a Peugeot 307. Lift the front bonnet to access the rear of the headlight. Disconnect the cap fro…
Peugeot 307
(2001-2009 /
MK 1)
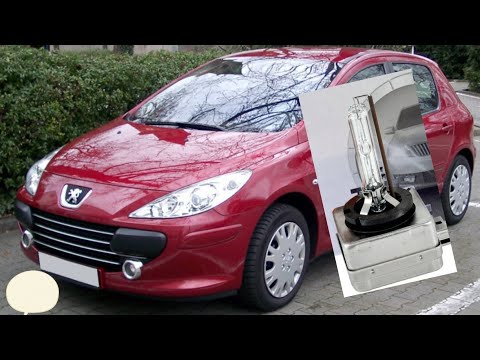
Today's procedure will show you how to dismantle and replace the xenon headlight bulb of the Peugeot 307. First, open the bonnet of the vehicle and b…
ScegliAuto offers an extensive international collection of automotive tutorials available in 12 languages. Each guide combines instructional videos with original explanations written by experienced human editors, along with information about the car models covered.
Other guides you may be interested in
|
How to Change the Date and Time on the Renault Scenic
In this guide, you will find instructions to change the date and time on the Renault Scenic in simple steps. First, get in the vehicle and turn on the instrument panel; then navigate to the vehicle settings using the knob, selecting the clock menu, as shown in the video. At this point, you can modify the time and date, also selecting the desired format; finally, exit the settings menu to save the changes, allowing you to adjust the time at any moment! by ScegliAuto More videos
|
|
For advertising on this site Write to info@scegliauto.com
ScegliAuto is not responsible for any inaccuracy of the data in the lists. To report any inaccuracy or your business (if you own the business in question), please write to info@scegliauto.com
Number of seconds to generate the page: 0.045
(c) ScegliAuto 2026 - info@scegliauto.com - Privacy policy - About us VAT number: IT01247470535 |
