
|
Do it yourself
| |||
| ||||


How do you replace the original series lamps with xenon lamps on a Mercedes CLK?
Model: Mercedes Clk
A209, C209, W209
- Years:
2002, 2003, 2004, 2005, 2006, 2007, 2008, 2009, 2010
Video tutorial
Replacing the original bulbs with xenon ones on a Mercedes CLK is a job that you can do with a little patience and skill. First thing: make sure the car is turned off and the headlights have cooled down. Open the hood and locate the back of the headlight. Remove the plastic cover, then carefully disconnect the connector from the bulb. Unscrew the old bulb and insert the xenon one, being careful not to touch the glass with your fingers. Connect the ballast (which is used to regulate the current), secure everything properly, and close it back up. Check the alignment of the headlights to avoid dazzling oncoming drivers. It's not difficult, but it requires precision: if you have any doubts, an electrician can help you do it safely.
Posted on 12 October 2025 by ScegliAuto
Related tutorials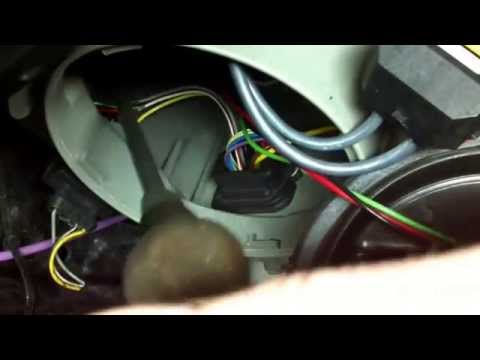
Mercedes Clk
(2002-2010 /
A209, C209, W209)
Damage to the ignition unit of the xenon headlight lamps on Mercedes vehicles is a fairly common fault: it is possible to purchase it aftermarket at …

Mercedes Clk
(1997-2003 /
A208, C208, W208)
The new generation of LED bulbs has surpassed old xenon kits and has become economically accessible and easy to install since there is no need to ins…

Mercedes Clk
(1997-2003 /
A208, C208, W208)
In today's tutorial, you will learn how to remove the external wing mirror of a first series Mercedes CLK. First, open the door and take a plastic tr…
Other guides you may be interested in |
How to reset the tyre pressure warning light on the Kia Niro EV?
To reset the tyre pressure warning light on the Kia Niro EV, inflate the tyres until they reach the correct pressure value. This value is indicated on the sticker attached to the driver's door pillar. Once the tyres are inflated, turn on the instrument cluster to check that the warning light has completely disappeared from the display. If it is still present, you may need to drive for a few miles to ensure it disappears completely from the screen. by ScegliAuto More videos
|
|
For advertising on this site Write to info@scegliauto.com
ScegliAuto is not responsible for any inaccuracy of the data in the lists. To report any inaccuracy or your business (if you own the business in question), please write to info@scegliauto.com
Number of seconds to generate the page: 0.037
(c) ScegliAuto 2026 - info@scegliauto.com - Privacy policy VAT number: IT01247470535 |
