
|
Do it yourself
| |||
| ||||


|
Model: Piaggio Vespa Px 150
If you want to install the windscreen on your Piaggio Vespa, you can purchase the kit for a price ranging from £85 to £110 on major e-commerce platforms. First, distinguish the right mount from the left and hold them with the bolts facing inwards. Fit the nuts and washers onto the bolts, correctly install the four plastic clips, and the bolts with washers that go on the front of the windscreen. Secure them with the previously installed clips. Pass the mounts through, ensuring the correct orientation. Now, pass the bolt through the mount housing and secure it with the plug: the red part must remain visible. Push down the mount until it is flush with the upper clip of the windscreen. On the Vespa's handlebars, there is a housing specifically for fitting the windscreen. Insert the plugs, ensuring the windscreen frame is flush all around the headlight. Now tighten the outer bolts of the windscreen, always ensuring everything is even. Tighten the bolts under the handlebars, but do not overtighten: just ensure it is solid. The job is complete.
Updated on 25 May 2026 by ScegliAuto
Video tutorial
Related tutorials
Vespa Px 150
To replace the rear brake shoes on a Piaggio Vespa PX 150, loosen the screws securing the exhaust cover. Once removed, loosen the screws securing the…
Vespa Px 150
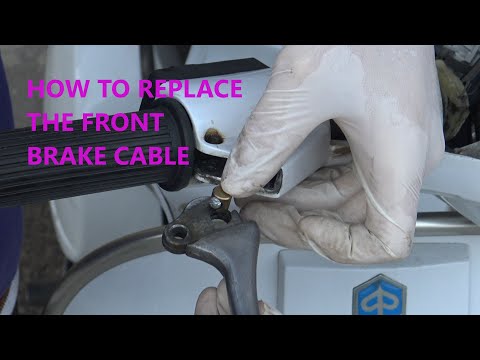
To replace the front brake cable on the Piaggio Vespa PX, loosen the screws located at the bottom of the front fairing to free the instrument cluster…

Vespa Px 150
It will be possible to replace the exhaust of the Piaggio Vespa PX 150 by loosening the screws that secure the rear wheel covering panel on the left …
|
How to Remove the Final Drive from a BMW R 1200 GS?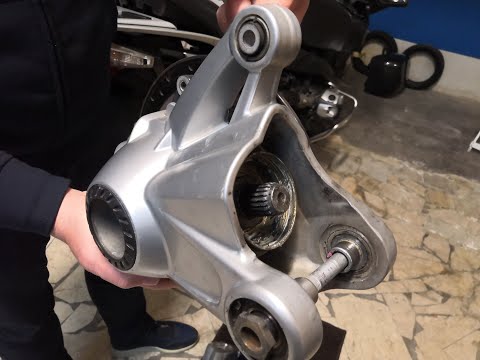
To remove the final drive from a BMW R 1200 GS, loosen the bolts securing the exhaust so it can be removed along with the rear wheel. The rear wheel will also be removed by unscrewing the five bolts that secure it to the swingarm. Next, detach the brake caliper by unscrewing the mounting bolts and remove the rear part of the swingarm. Inside, you will find the final drive, which should be extracted and replaced with a new spare part; after replacement, reassemble all previously removed components. by ScegliAuto More videos
|
|
For advertising on this site Write to info@scegliauto.com
ScegliAuto is not responsible for any inaccuracy of the data in the lists. To report any inaccuracy or your business (if you own the business in question), please write to info@scegliauto.com
Number of seconds to generate the page: 0.185
(c) ScegliAuto 2026 - info@scegliauto.com - Privacy policy VAT number: IT01247470535 |
