
|
Do it yourself
| |||
| ||||


Porsche 911 - Video tutorial
Model: Porsche 911
996
- Years 1997-2005 Here is a video showing how the front bumper is mounted on the Porsche BBMD or the Porsche Boxster. First place the bumper on the front of the car and then, with the help of a screwdriver, tighten the two side screws. Now also tighten the two locking screws in the upper part of the bumper. To secure it, it is also necessary to make three holes in the lower part of the bumper itself and to apply locking screws. The procedure is always the same and is illustrated respectively: for the 1999-2001 bumper for the Porsche 996 VT 750 and Porsche Boxter 1997-2004 models; for 1999-2001 rear bumper for Porsche 996 EVO GTR and 1997-2004 Boxter; for 1999-2001 and 2002-2004 rear bumpers for Porsche 996 TK and Porsche Boxter 1997-2004.
Posted on 3 July 2023 by ScegliAuto
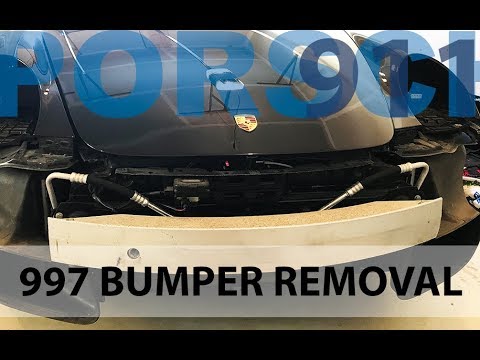 How do you remove the front bumper of the Porsche 911?
Porsche 911 (2005-2011 / 997) In order to remove the front bumper of the Porsche 911 it is necessary to first remove the inner covers of the front wheel arches and also the headli 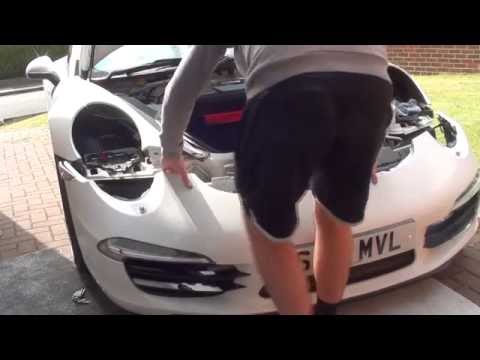 How to remove Porsche 911 front bumper
Porsche 911 (2005-2011 / 997) Despite the level of technology and the complexity of this car, many of the disassembly operations are as simple as that of the front bumper; start b  How to remove the front bumper of a Porsche 911
Porsche 911 (2005-2011 / 997) Before starting, we will have to lift the front of our Porsche 911. Let's start then going to disassemble and remove the front wheels, unscrewing the Other guides that may interest you
|
How do you replace the horn on the Citroà «n Berlingo?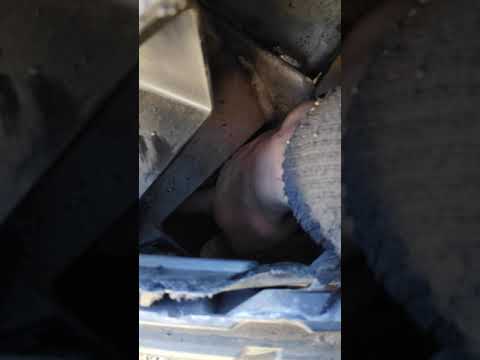
In order to replace the horn on the Citroà «n Berlingo, the vehicle must be raised so that the screws that secure the left front wheel can be loosened and removed completely. Once this wheel has been removed, it will be possible to access the screws that secure the internal cover of the corresponding wheel arch: this will have to be detached and it will be possible to access the components inside, including the horn. This will need to be disconnected from its connector and removed from its holders, so that it can be replaced with a new spare part. by ScegliAuto More videos
|
|
For advertising on this site Write to info@scegliauto.com
ScegliAuto is not responsible for any inaccuracy of the data in the lists. To report any inaccuracy or your business (if you own the business in question), please write to info@scegliauto.com
Number of seconds to generate the page: 0.026
(c) ScegliAuto 2024 - info@scegliauto.com - Privacy Policy VAT number: IT01247470535 |