
|
Do it yourself
| |||
| ||||


Renault Clio - Brake drums and shoesBrake Drums And Shoes Renault Clio (2012-2019 / clio iv, mk 4, clio 4) Renault Clio (2012-2019 / Clioiv, MK 4, Clio4)
How to replace the drum brakes on the Renault Clio. On your Renault Clio, replacing the rear drum brakes should be done with care because it involves safety components and often the hydraulic system if the wheel …Read all… Posted on 10 January 2026 by ScegliAuto 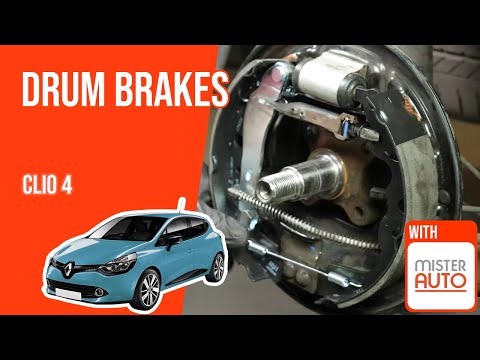 Renault Clio (2012-2019 / Clioiv, MK 4, Clio4)
How to Remove the Rear Drum Brake on the Renault Clio? To remove the rear drum brake on the Renault Clio, lift the car using a jack or ramp so that the bolts securing the rear wheel can be loosened, removing the …Read all… Posted on 4 September 2026 by ScegliAuto 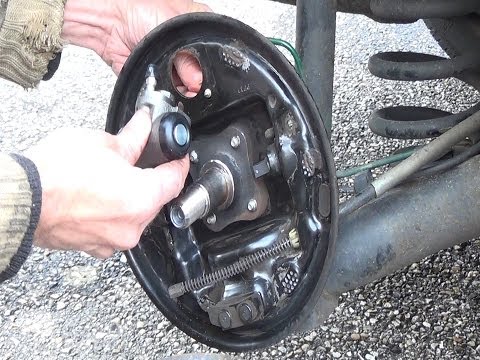 Renault Clio (1998-2005 / Clio2, MK 2)
Replacing Rear Brake Shoes Loosen the wheel retaining bolts before lifting the vehicle and placing it on suitable axle stands, engaging first gear and releasing the handbrake; complete …Read all… Posted on 23 February 2026 by ScegliAuto 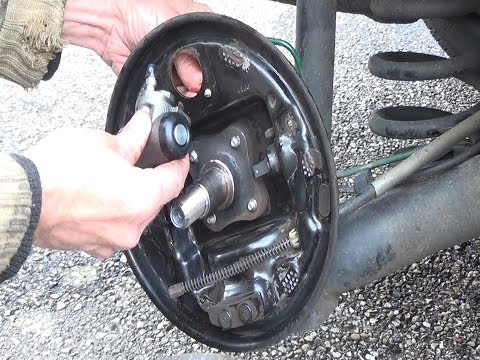 Renault Clio (1998-2005 / Clio2, MK 2)
Rear Drum and Shoe Replacement To replace the rear drums and shoes, first lift the vehicle and remove the rear wheel (use axle stands and do not work under a vehicle supported only by a …Read all… Posted on 23 February 2026 by ScegliAuto 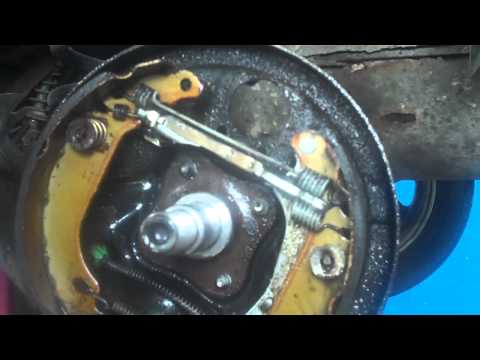 Renault Clio (1998-2005 / Clio2, MK 2)
How to Replace a Leaking Brake Cylinder This video shows how to replace the cylinder located above the brake drum of a Renault Clio. After removing the affected wheel, use a ratchet to remove the …Read all… Posted on 8 February 2026 by ScegliAuto 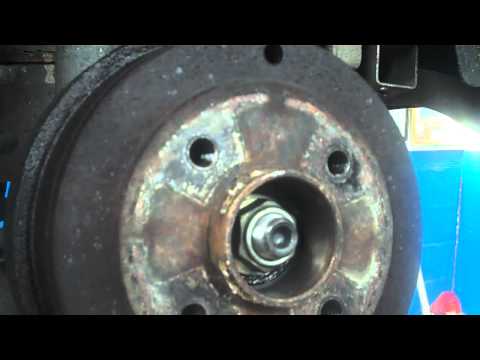 Renault Clio (1998-2005 / Clio2, MK 2)
Disassembly of Rear Brake Drum For this operation, you need the following tools: 30mm socket, screwdriver set, hammer. First operation: lift the vehicle and remove the wheel bolts and the …Read all… Posted on 5 February 2026 by ScegliAuto Brake Drums And Shoes Renault Clio (1998-2005 / clio 2, mk 2)
Renault Clio (2012-2019 / Clioiv, MK 4, Clio4)How to replace the drum brakes on the Renault Clio. On your Renault Clio, replacing the rear drum brakes should be done with care because it involves safety components and often the hydraulic system if the wheel …Read all… Posted on 10 January 2026 by ScegliAuto
Renault Clio (2012-2019 / Clioiv, MK 4, Clio4)How to Remove the Rear Drum Brake on the Renault Clio? To remove the rear drum brake on the Renault Clio, lift the car using a jack or ramp so that the bolts securing the rear wheel can be loosened, removing the …Read all… Posted on 4 September 2026 by ScegliAuto
Renault Clio (1998-2005 / Clio2, MK 2)Replacing Rear Brake Shoes Loosen the wheel retaining bolts before lifting the vehicle and placing it on suitable axle stands, engaging first gear and releasing the handbrake; complete …Read all… Posted on 23 February 2026 by ScegliAuto
Renault Clio (1998-2005 / Clio2, MK 2)Rear Drum and Shoe Replacement To replace the rear drums and shoes, first lift the vehicle and remove the rear wheel (use axle stands and do not work under a vehicle supported only by a …Read all… Posted on 23 February 2026 by ScegliAuto
Renault Clio (1998-2005 / Clio2, MK 2)How to Replace a Leaking Brake Cylinder This video shows how to replace the cylinder located above the brake drum of a Renault Clio. After removing the affected wheel, use a ratchet to remove the …Read all… Posted on 8 February 2026 by ScegliAuto
Renault Clio (1998-2005 / Clio2, MK 2)Disassembly of Rear Brake Drum For this operation, you need the following tools: 30mm socket, screwdriver set, hammer. First operation: lift the vehicle and remove the wheel bolts and the …Read all… Posted on 5 February 2026 by ScegliAuto Cigarette lighter (1) Airbag (26) Alternator (10) Speaker (11) Shocks (14) Antenna (7) Air conditioning (3) Car stereo (72) Anti-roll bar (3) Roof rack bars (2) Battery (23) Ignition coil (3) Air vents (4) Bushings (2) Control arm (6) Transmission (3) Spark plugs (17) Glow plugs (4) Body (28) Glove compartment (3) Control unit (5) Key (100) Timing belt (36) V-belt (11) Air conditioner (1) A/C controls (2) Onboard computer (44) Checks and maintenance (115) Throttle body (4) Dashboard (18) Bearing (5) MAF sensor (3) Brake rotors (4) Rear bench seat (1) Headlight (41) Tail light (24) Fog lights (8) Air filter (53) Cabin air filter (45) Fuel filter (5) Diesel fuel filter (23) Oil filter (9) Parking brake (13) Clutch (5) Grille (2) Fuel injectors (4) Window switch (5) Accessory kit (10) Light bulb (24) Side marker bulb (3) Headlight bulb (59) Tail light bulb (24) Interior dome light bulb (13) Antifreeze coolant (3) Instrument panel light (6) License plate light (9) (4) Handle (11) Engine (4) Power window motor (8) Starter motor (18) Transmission fluid (7) Brake fluid (1) Engine oil (27) Power steering fluid (1) Clock (45) Door trim panel (38) Windshield (1) Front bumper (18) Rear bumper (8) Brake pads (16) Tires (3) Shift knob (36) Pump (4) Fuel pump (6) Car door (8) Push button (4) Power window switch (3) Instrument cluster (26) Radiator (1) Heater core (2) Wheel (19) Fuse box (155) Seat (23) Axle shaft (1) Crankshaft position sensor (2) Parking sensors (2) Door lock (13) Suspension system (3) Side mirror (28) Rearview mirror (2) AdBlue warning light (9) Warning light – error code (98) (80) Tire pressure warning light (34) Service warning light (259) Manufacturer emblem (4) Brake drums and shoes (6) Fuel cap (11) Windshield wipers (33) Thermostat (3) Cylinder head (1) Tie rods (3) Oil vapor hose (1) Center console tunnel (1) Turbocharger (1) Valve (3) EGR valve (12) Blower motor (24) Side window (6) Steering wheel (12) |
How to Repair the Key Spring of the Peugeot 207?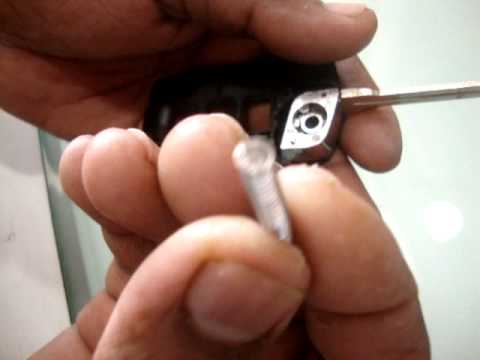
Over time, frequent use of the key's flip mechanism in the vehicle, dozens of times a day, inevitably leads to wear of the internal spring. As shown in this video, replacing the spring is quite simple and takes little time. After opening the casing halfway, first position the key, then the spring housing, and finally insert the spring into the previously mentioned housing. Close the casing by rotating it clockwise, ensuring all components fit perfectly, and test the key's flip mechanism. by ScegliAuto More videos
|
|
For advertising on this site Write to info@scegliauto.com
ScegliAuto is not responsible for any inaccuracy of the data in the lists. To report any inaccuracy or your business (if you own the business in question), please write to info@scegliauto.com
Number of seconds to generate the page: 0.008
(c) ScegliAuto 2026 - info@scegliauto.com - Privacy policy VAT number: IT01247470535 |
