
|
Do it yourself
| |||
| ||||


Renault Clio - Video tutorial
Model: Renault Clio
Clio 2, MK 2
- Years 1998-2005 In order to replace the drums and the rear shoes it is first of all necessary to lift the car and remove the rear wheel (apply car stands and do not tinker with the car supported only by the jack); then remove the cap in the center of the drum, unscrew the nut below, release the hand brake and extract the drum even with a few blows of the hammer or using the appropriate extractor; release the support pins of the jaws by pressing and rotating with pliers, release the springs and remove the jaws; seal the cap of the brake oil reservoir to prevent oil from leaking during disassembly of the brake shoe actuator cylinder; carefully wash the hub support and proceed backwards with the installation of the new kit which includes the cylinder and the shoes: reset the handbrake cable adjuster before applying the new shoes and pay attention to the fixing of the springs.
Posted on 16 August 2023 by ScegliAuto
 Replacement of rear jaws
Renault Clio (1998-2005 / Clio 2, MK 2) Loosen the wheel fixing pins before lifting it and place the car on suitable stands, engaging first gear and releasing the handbrake; complete disass 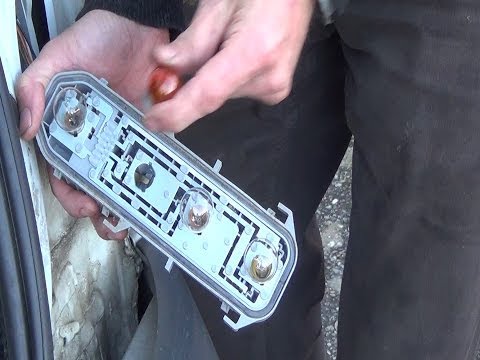 Rear light bulb replacement
Renault Clio (1998-2005 / Clio 2, MK 2) In order to replace the rear light bulb it is necessary to remove the light itself from its seat: therefore open the rear hood and intercept the ring 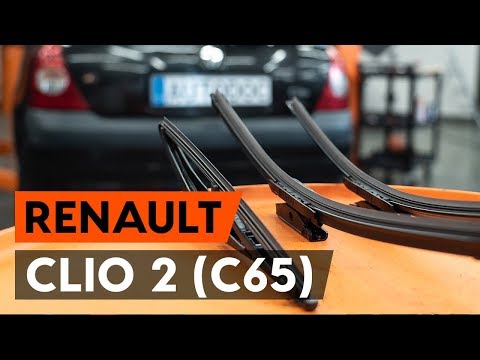 How to replace the rear wiper blade on a Renault Clio
Renault Clio (1998-2005 / Clio 2, MK 2) Before we can start, we will have to get out of the cockpit of our Renault Clio, and then we will have to head towards the rear window. Let's start t Other guides that may interest you
|
Disassembly of the gear knob on the Lancia Ypsilon 2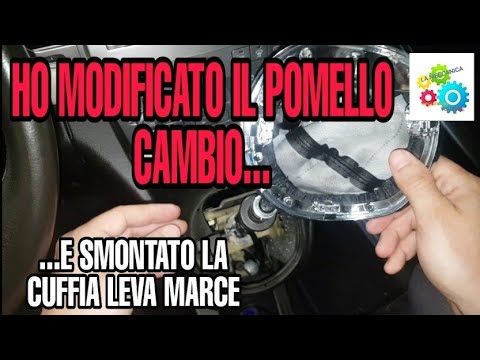
Today we will see, in this video tutorial, how to remove and replace the gear knob on the second series Lancia Ypsilon, but also on the Lancia Musa, in simple and quick steps. We get inside the car and start by removing the old gear knob; to do this, just unscrew it anticlockwise, as shown in the video. At this point we also remove the gearshift gaiter, in order to replace, if necessary, it too; we just have to fix the new headset and insert the new gear knob, screwing it correctly and without creating play on the gear lever! by ScegliAuto More videos
|
|
For advertising on this site Write to info@scegliauto.com
ScegliAuto is not responsible for any inaccuracy of the data in the lists. To report any inaccuracy or your business (if you own the business in question), please write to info@scegliauto.com
Number of seconds to generate the page: 0.033
(c) ScegliAuto 2024 - info@scegliauto.com - Privacy Policy VAT number: IT01247470535 |