
|
Do it yourself
| |||
| ||||


How to remove and replace the Renault Scenic's sky
Model: Renault Scenic
MK 2, Scenic 2
- Years 2003-2009
Today we will explain how to remove and replace the sky of the Renault Scenic model mk2 that has lost grip. Even though many suggest gluing it without removing it for a aesthetically well done job it is necessary to remove the entire cover. Let's start by removing all the screws that support the roof cover. We also remove the central light, handles, and sun visors. To perform this operation you will need to use a 10mm Torx key. Then you can remove the roof from the vehicle and remove all the damaged fabric. With a spatula we remove the previous glue and after cleaning the entire area we spread the fabric glue. We glue the new fabric and then mount it on the vehicle.
Posted on 17 September 2024 by ScegliAuto
Video tutorial
Related tutorials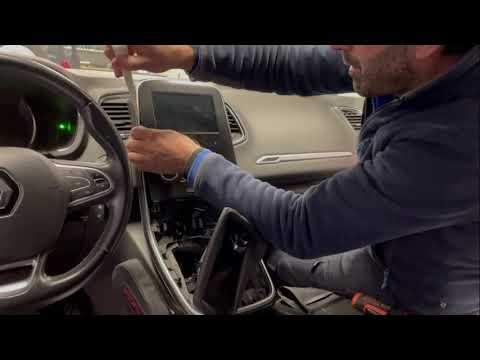
Renault Scenic
(2016-2022 /
MK IV, Scenic 4, MK 4, Scenic IV)
This guide explains how to remove the radio from a Renault Scenic IV. To remove the radio, lift the gear lever gaiter and then detach the lower cover…
Renault Scenic
(2003-2009 /
MK 2, Scenic 2)
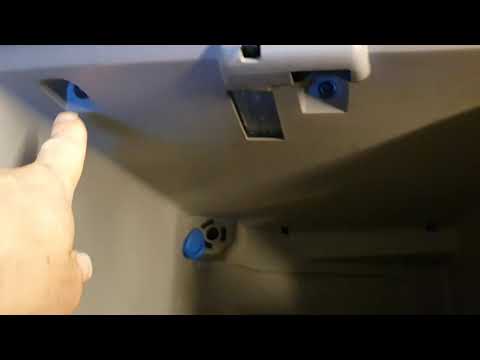
Before you start, sit in the front passenger seat of your Renault Scenic. Begin by opening the glove compartment door by pulling the opening handle. …

Renault Scenic
(2003-2009 /
MK 2, Scenic 2)
Replacing the windshield wiper blades on the Renault Scenic model 2 is a simple and quick operation to be carried out independently. First, lift the …
Other guides you may be interested in
|
Where is the Fuel Filter Located in a Volvo XC60?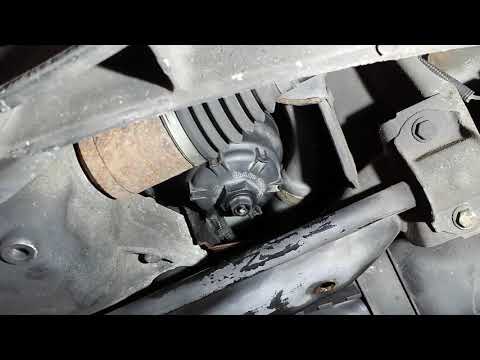
In this video, you will see where the fuel filter is located in a Volvo XC60 and how to proceed if you need to replace it. As shown, the filter is positioned at the lower part of the engine, right between the left half-shaft and the sway bar attachment. To replace the filter, first, go underneath the vehicle, taking all necessary safety precautions. Then, using an 18mm wrench, open the drain valve and allow any water present to escape. Next, unscrew the housing, remove the old filter, insert the replacement along with a new gasket, and reassemble everything. by ScegliAuto More videos
|
|
For advertising on this site Write to info@scegliauto.com
ScegliAuto is not responsible for any inaccuracy of the data in the lists. To report any inaccuracy or your business (if you own the business in question), please write to info@scegliauto.com
Number of seconds to generate the page: 0.422
(c) ScegliAuto 2026 - info@scegliauto.com - Privacy policy VAT number: IT01247470535 |
