
|
Do it yourself
| |||
| ||||


How to change the reverse light bulb and the rear fog light bulb on the Renault Grand Scenic
Model: Renault Scenic
Scenic 3, MK 3, MK III, Scenic III
- Years 2009-2015
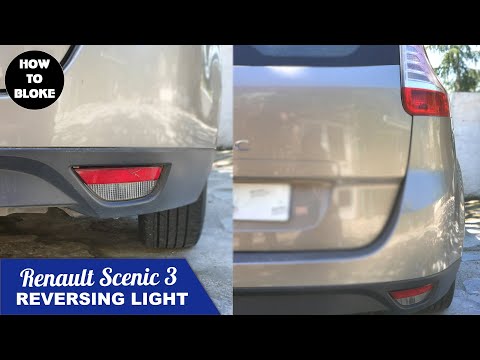
In this video, we will see how to change the reverse light bulb and the rear fog light on a Renault Grand Scenic, which is similar to the Scenic III: they are located on the rear side of the car and are accessible from the bottom; let's start with the reverse light, which is located on the right side of the car. If we put our hand under it, we will immediately find the electrical connector, so all we have to do is disconnect it, and at the same time remove the bulb. To remove it from the socket, simply rotate it counterclockwise a quarter turn and then replace it with the new one, remembering never to touch the bulb with your hands. If it is necessary to remove the entire headlight, we will have to unscrew a single 7 mm screw, which is located under the optical group. On the other side we find the rear fog light, but the procedure is exactly the same.
Posted on 2 February 2025 by ScegliAuto
Video tutorial
Related tutorials
Renault Scenic
(2003-2009 /
MK 2, Scenic 2)
Today we will see the step-by-step instructions that will allow us to disassemble and replace the front fog light bulb of the Renault Scenic. First, …
Renault Scenic
(2009-2015 /
Scenic 3, MK 3, MK III, Scenic III)
In today’s tutorial, we will see how to remove and replace the rear fog light and its bulb on the Renault Scenic. First, move to the back of your car…

Renault Scenic
(2016-2022 /
MK IV, Scenic 4, MK 4, Scenic IV)
In this tutorial, you will see how to replace the rear lights on the Renault Grand Scenic, an extremely simple and quick operation. First, ensure tha…
Other guides you may be interested in
|
How to Repair the Key Spring of the Peugeot 207?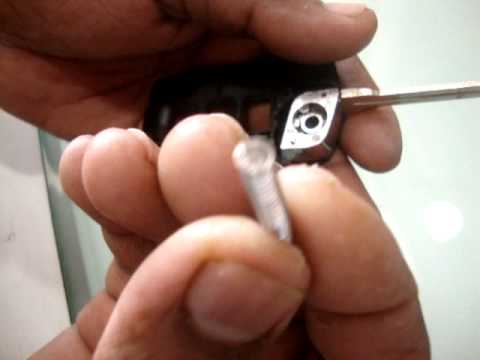
Over time, frequent use of the key's flip mechanism in the vehicle, dozens of times a day, inevitably leads to wear of the internal spring. As shown in this video, replacing the spring is quite simple and takes little time. After opening the casing halfway, first position the key, then the spring housing, and finally insert the spring into the previously mentioned housing. Close the casing by rotating it clockwise, ensuring all components fit perfectly, and test the key's flip mechanism. by ScegliAuto More videos
|

|
For advertising on this site Write to info@scegliauto.com
ScegliAuto is not responsible for any inaccuracy of the data in the lists. To report any inaccuracy or your business (if you own the business in question), please write to info@scegliauto.com
Number of seconds to generate the page: 0.218
(c) ScegliAuto 2026 - info@scegliauto.com - Privacy policy VAT number: IT01247470535 |
