
|
Do it yourself
| |||
| ||||


Renault Clio III DIY: How to Remove the Bumper and Headlights
Model: Renault Clio
MK 3, Clio 3, Clio III
- Years 2005-2013
The video documents the removal of the front end of a Renault Clio III to allow for the removal of the headlights. After a brief introduction with the bonnet open, the damaged front bumper and initial interventions in the wheel arches are shown, where clips and screws connecting the bumper and wing are removed. Proceed under the bonnet by removing the upper plastic cover on the cross member and additional fixings. Once the bumper is free, the side supports of the headlights are accessible: loosen the upper and side bolts, then each headlight can be pulled forward. At the back, disconnect the electrical connectors and remove the headlight. Repeat the same operation for the opposite side.
Posted on 10 May 2026 by ScegliAuto
Video tutorial
Related tutorials
Renault Clio
(2005-2013 /
MK 3, Clio 3, Clio III)
To remove the front headlights on a Renault Clio 3, you must first remove the bumper. To do this, lift the vehicle and unscrew the bolts underneath i…

Renault Clio
(2005-2013 /
MK 3, Clio 3, Clio III)
To replace the bulbs in the front headlights of a Renault Clio III, you need to open the bonnet. On the passenger side, the bonnet latch is accessibl…
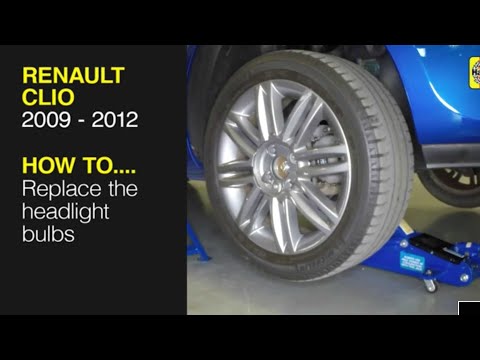
Renault Clio
(2005-2013 /
MK 3, Clio 3, Clio III)
Do you want to remove the front headlight of a Renault Clio? Let's see how to disassemble the front headlight. Before removing the front headlight, y…
Other guides you may be interested in
|
How to Repair the Key Spring of the Peugeot 207?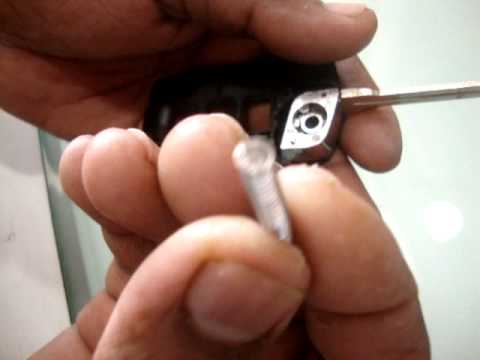
Over time, frequent use of the key's flip mechanism in the vehicle, dozens of times a day, inevitably leads to wear of the internal spring. As shown in this video, replacing the spring is quite simple and takes little time. After opening the casing halfway, first position the key, then the spring housing, and finally insert the spring into the previously mentioned housing. Close the casing by rotating it clockwise, ensuring all components fit perfectly, and test the key's flip mechanism. by ScegliAuto More videos
|

|
For advertising on this site Write to info@scegliauto.com
ScegliAuto is not responsible for any inaccuracy of the data in the lists. To report any inaccuracy or your business (if you own the business in question), please write to info@scegliauto.com
Number of seconds to generate the page: 0.392
(c) ScegliAuto 2026 - info@scegliauto.com - Privacy policy VAT number: IT01247470535 |
