
|
Do it yourself
| |||
| ||||


How to Locate the Fuse Box in Our Renault Master Campervan?
Model: Renault Master
MK 3
- Years 2010-2023
On the Renault Master Campervan, the main fuse box is not always where you might expect it, so do not look under the dashboard, but rather outside the vehicle, as clearly shown in the video tutorial. To access the fuse box, open a side panel on the side of the van. This door is usually located below the window level or corresponding to the entrance step and opens with a simple lever or key. Once removed, you will find the unit with all the fuses for the base vehicle (engine, lights, sensors). However, in campervans, it is common to find a second additional box dedicated to living services, which may be located inside, under a seat or in a cupboard. Before touching any fuses, turn off the engine and disconnect the battery.
Posted on 29 June 2026 by ScegliAuto
Video tutorial
Related tutorials
Renault Master
(2010-2023 /
MK 3)
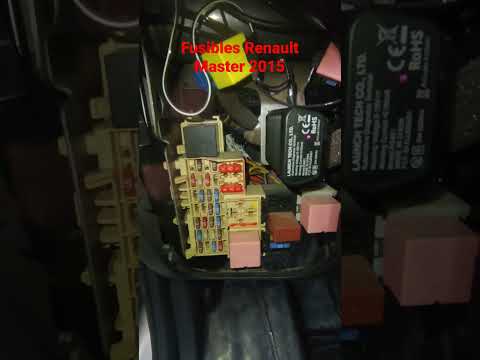
In this video tutorial, you will learn how to identify the locations of the fuse boxes in a Renault Master III and their corresponding assignment sch…
Renault Master
(2010-2023 /
MK 3)
The 2015 Renault Master has two fuse boxes. The first fuse box is located inside the cabin, specifically behind the driver's glove compartment. The s…

Renault Master
(2010-2023 /
MK 3)
To remove the armrest of the Renault Master, all we have to do is remove the cover cap and then, by applying a little force, pull the armrest outward…
Other guides you may be interested in
|
Frequently Asked QuestionsWhere is the Fuel Filter Located in a Volvo XC60?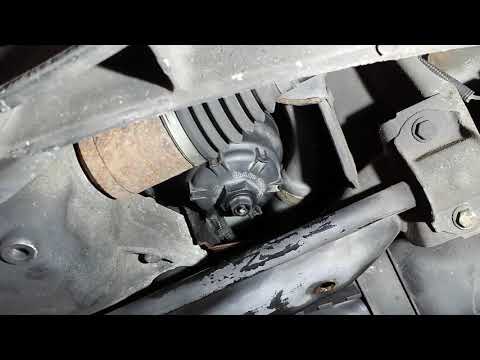
In this video, you will see where the fuel filter is located in a Volvo XC60 and how to proceed if you need to replace it. As shown, the filter is positioned at the lower part of the engine, right between the left half-shaft and the sway bar attachment. To replace the filter, first, go underneath the vehicle, taking all necessary safety precautions. Then, using an 18mm wrench, open the drain valve and allow any water present to escape. Next, unscrew the housing, remove the old filter, insert the replacement along with a new gasket, and reassemble everything. by ScegliAuto More videos
|
|
For advertising on this site Write to info@scegliauto.com
ScegliAuto is not responsible for any inaccuracy of the data in the lists. To report any inaccuracy or your business (if you own the business in question), please write to info@scegliauto.com
Number of seconds to generate the page: 0.381
(c) ScegliAuto 2026 - info@scegliauto.com - Privacy policy VAT number: IT01247470535 |
