
|
Do it yourself
| |||
| ||||


Renault Clio - Video tutorial
Model: Renault Clio
Clio IV, Clio 4, MK 4
- Years 2012-2019 To install the back room do-it-yourself it is first of all necessary to have a minimum of familiarity with the disassembly and assembly operations but also of knowledge and interpretation of the wiring diagrams, since connections must be made on the standard electrical system; you will start by unhooking and removing the frame around the car radio and then unscrew the fixing screws of the car radio to extract it from its seat; then intercept the point in which to drill the hole on the rear bumper in which the rear view camera will be inserted; connect the power supply to that of the parking sensor control unit so that the rear camera is activated together with the sensors after engaging reverse gear; then to pass the cables through the ceiling and the uprights until arriving behind the car radio where the connection will be completed following the wiring diagram.
Posted on 2 January 2024 by ScegliAuto
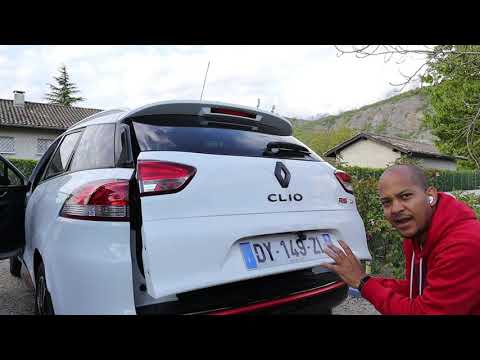 Renault Clio rear view camera installation
Renault Clio (2012-2019 / Clio IV, Clio 4, MK 4) We see in this guide the instructions that will allow us to install the rear view camera on the Renault Clio, in simple and quick steps. First of all 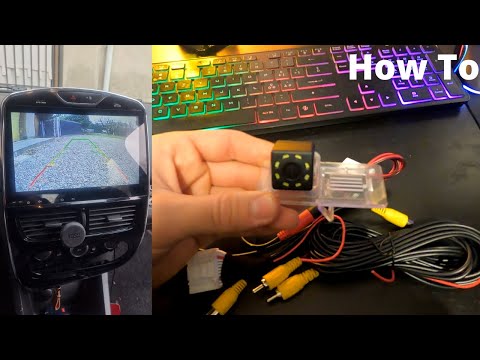 How to install a rearview camera on a Renault Clio 4.
Renault Clio (2012-2019 / Clio IV, Clio 4, MK 4) We can see through this short video guide the necessary steps to install a rear camera kit on a fourth generation Renault Clio, a model in production 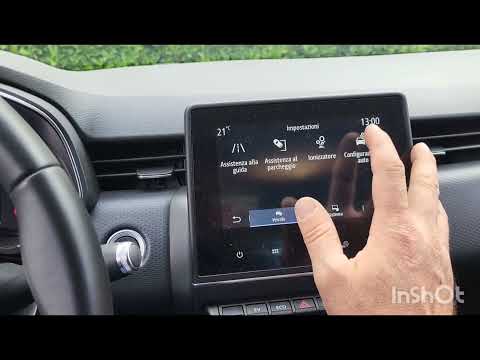 Installation of the rear camera on a Renault Clio V.
Renault Clio (2019-2024 / Clio V, Clio 5) In this video, we see how a rear camera was installed on a Renault Clio V, which did not come equipped with one from the factory. It is installed abo Other guides that may interest you
|
Frequently Asked QuestionsDisassembly of the gear knob on the Lancia Ypsilon 2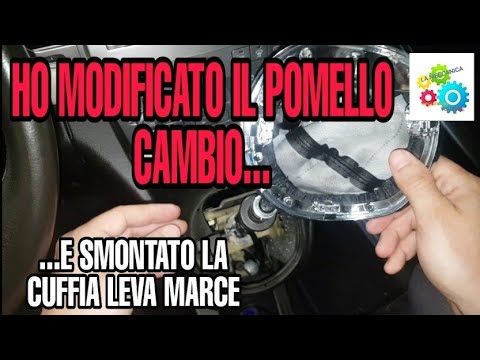
Today we will see, in this video tutorial, how to remove and replace the gear knob on the second series Lancia Ypsilon, but also on the Lancia Musa, in simple and quick steps. We get inside the car and start by removing the old gear knob; to do this, just unscrew it anticlockwise, as shown in the video. At this point we also remove the gearshift gaiter, in order to replace, if necessary, it too; we just have to fix the new headset and insert the new gear knob, screwing it correctly and without creating play on the gear lever! by ScegliAuto More videos
|
|
For advertising on this site Write to info@scegliauto.com
ScegliAuto is not responsible for any inaccuracy of the data in the lists. To report any inaccuracy or your business (if you own the business in question), please write to info@scegliauto.com
Number of seconds to generate the page: 0.063
(c) ScegliAuto 2024 - info@scegliauto.com - Privacy Policy VAT number: IT01247470535 |