
|
Do it yourself
| |||
| ||||


Replacing Front Bonnet Gas Struts
Model: Renault Scenic
Scenic 2, MK 2
- Years 2003-2009
To replace the gas struts that support the rear bonnet, it is necessary to remove the rear light as the lower hinge is located beneath the light housing; therefore, open the rear bonnet and unscrew the mounting screws of the light located along the bonnet closing line, remove the light from its position and extract the retaining clip from the lower spherical hinge; also extract the clip from the upper spherical hinge, remove the old strut and insert the new one, securing it by closing the respective clips; finally, reattach the light.
Updated on 20 February 2026 by ScegliAuto
Video tutorial
Related tutorials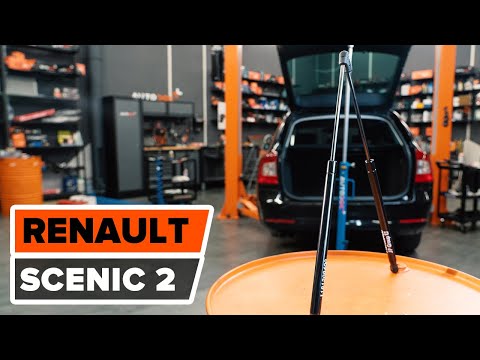
Renault Scenic
(2003-2009 /
Scenic 2, MK 2)
Are the gas struts on your Scenic due for replacement? How to remove and reinstall them? This video shows how to replace the struts on the rear tailg…
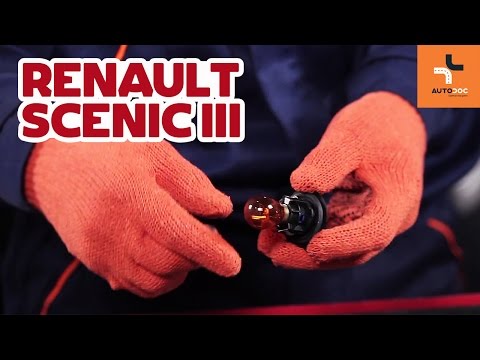
Renault Scenic
(2009-2015 /
MK III, Scenic III, Scenic 3, MK 3)
In order to replace the Renault Scenic, you need to open the hood so that you can access the components located inside the engine compartment: here y…

Renault Scenic
(1993-2003 /
MK 1, Scenic 1, RX4)
This brief guide will explain the procedure for disassembling and replacing the starter motor of the Renault Scenic 1.6. First, we open the car's eng…
Other guides you may be interested in |
How to Change the Diesel Filter on a Renault Captur 1.5 dCi
The diesel filter on the Renault Captur is always of the immersion type, but instead of being located at the top of the engine bay, it is positioned lower, inside the front right wheel arch (passenger side), practically under the headlamp. To replace it, it is advisable to lift the vehicle, remove the front right wheel and the corresponding inner lining to access the filter location. Unscrew the fastening nuts of the support clamp to extract it from its housing and disconnect the connector and pipes. At this point, unscrew the fixing screws of the cap, remove the old filter and insert the new one, also replacing the O-ring seals, and then reverse the steps for installation. Before starting the engine, turn the ignition on and off several times to allow the filter to fill. by ScegliAuto More videos
|
|
For advertising on this site Write to info@scegliauto.com
ScegliAuto is not responsible for any inaccuracy of the data in the lists. To report any inaccuracy or your business (if you own the business in question), please write to info@scegliauto.com
Number of seconds to generate the page: 0.044
(c) ScegliAuto 2026 - info@scegliauto.com - Privacy policy VAT number: IT01247470535 |