
|
Do it yourself
| |||
| ||||


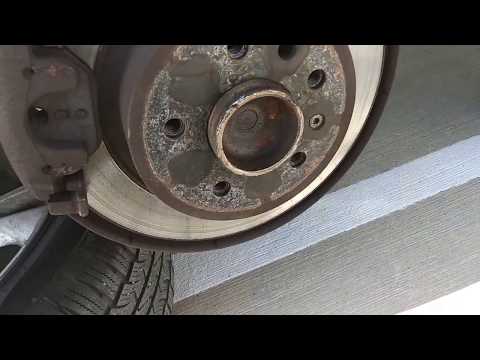
Replacing Front Brake Pads
Model: Saab 9 5
MK 1, Ys3e
- Years 1997-2010
Loosen the wheel nuts and lift the vehicle securely. Remove the bolts and take off the wheel. Using a screwdriver and hammer, push out the two clips of the brake shoe spring. Check the brake fluid level and ensure it is not at maximum. Using a plastic tool, remove the brake pads from their housing. Install the new pads, paying attention to the rotation direction stamped on the body. Before removing the inner pad, disconnect the electrical contact via its connector. Remove the second pad and install the new one, reconnecting the wires. Refit the spring and the two clips. Reattach the wheel. Check the brake fluid level again. Reset the position of the pistons by pressing the brake pedal.
Updated on 7 February 2026 by ScegliAuto
Video tutorial
Related tutorials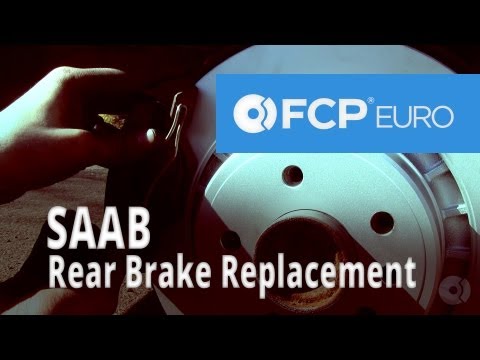
Saab 9 5
(1997-2010 /
MK 1, Ys3e)
Loosen the wheel nuts and lift the vehicle, securing it safely. Unscrew the bolts and remove the wheel. Using a screwdriver and hammer, push out the …
Saab 9 5
(1997-2010 /
MK 1, Ys3e)
In today's video we will see how to remove and replace the brake pads of a Saab 9-5. First we go to disassemble the wheel by unscrewing the bolts wit…

Saab 9 5
(1997-2010 /
MK 1, Ys3e)
When removing the cylinder head to replace the gasket, it is preferable to use a new set of bolts to secure it; before doing so, re-thread the bolt h…
Other guides you may be interested in
|
Removing the Timing Belt on a Suzuki Vitara
In this video, see the removal and replacement of the timing belt and water pump on a Suzuki Vitara. Open the bonnet and lift it, securing it in place. Use a socket wrench to remove the cooling radiator along with the associated hoses. Disconnect the power wiring using pliers, and remove the plastic undertray with a screwdriver. Use a spanner to loosen the tensioner pulley and slide the belt off its seat. Use a socket wrench to unscrew the tensioner pulley bolt, and remove the water pump as shown in the video. Fit the new water pump, the tensioner, and the belt itself, tightening everything with the socket wrench. Finally, reinstall the radiator with the securing bolts. by ScegliAuto More videos
|
|
For advertising on this site Write to info@scegliauto.com
ScegliAuto is not responsible for any inaccuracy of the data in the lists. To report any inaccuracy or your business (if you own the business in question), please write to info@scegliauto.com
Number of seconds to generate the page: 0.083
(c) ScegliAuto 2026 - info@scegliauto.com - Privacy policy VAT number: IT01247470535 |