
|
Do it yourself
| |||
| ||||


What to do if the hood cable of the SAAB 9.3 is broken
If the hood cable of our Saab 9.3 breaks, it is certainly a big problem, but not impossible to solve, as shown by the youtuber. We need to remove the side grille, as shown in the video, pulling it outwards and upwards at the same time from both sides. From these two holes, we can enter with our hands: we start from the right, where we have the latch. We need to pull the lever - as shown in the video. To release the spring. Once this is done, lean on the hood, pushing down against the pressure of the spring. Put your hand inside, push the lever and release the pressure. Then do the same on the other side and we can open it. The problem is largely caused by the fact that the stops are never adjusted or lubricated.
Posted on 2 March 2025 by ScegliAuto
Video tutorial
Related tutorials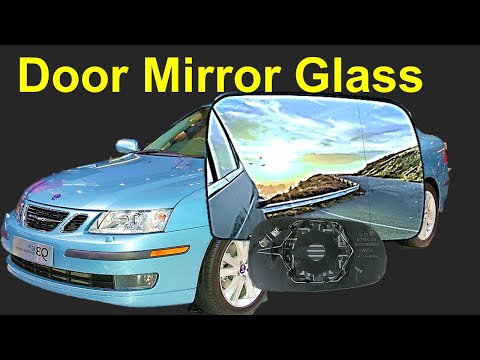
Saab 9 3
(2002-2014 /
MK 2)
Replace the mirror on a Saab 9-3. Use a plastic lever to pry between the perimeter of the mirror frame and the mirror glass. Pry until the mirror det…
Saab 9 3
(2002-2014 /
MK 2)
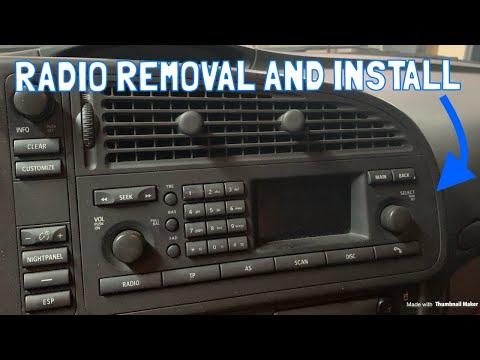
Before you can begin, sit in the driver's seat of your SAAB 9-3. Start by unclipping and removing the air vents located above the radio using a flath…
Saab 9 3
(2002-2014 /
MK 2)
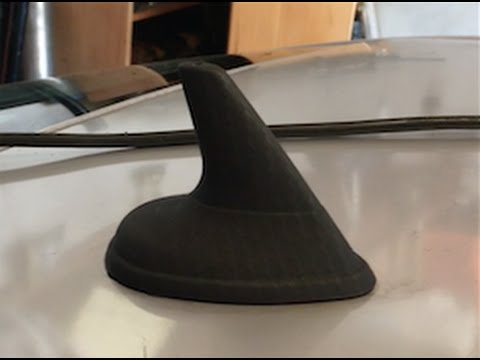
Replace the non-functioning antenna on a Saab 9-3. Use a screwdriver to pry between the securing clips and the headlining (without damaging the headl…
Other guides you may be interested in
|
How to Replace the Remote Battery for the Volvo XC40?
In this tutorial, you will see how to replace the battery in the remote for the Volvo XC40, a very simple and quick operation. For this, you will need a replacement battery of type CR2032 and possibly a small flathead screwdriver. First, remove the front cover by pressing the button on the metal ring, then locate the second button, press it as well, and remove the opposite cover. Next, open the circular cap, take out the old battery, and insert the new one in the opposite direction. Finally, reassemble everything. by ScegliAuto More videos
|
|
For advertising on this site Write to info@scegliauto.com
ScegliAuto is not responsible for any inaccuracy of the data in the lists. To report any inaccuracy or your business (if you own the business in question), please write to info@scegliauto.com
Number of seconds to generate the page: 0.692
(c) ScegliAuto 2026 - info@scegliauto.com - Privacy policy VAT number: IT01247470535 |
