
|
Do it yourself
| |||
| ||||


Replacing Engine Spark Plugs
Model: Saab 9 3
MK 2
- Years 2002-2014
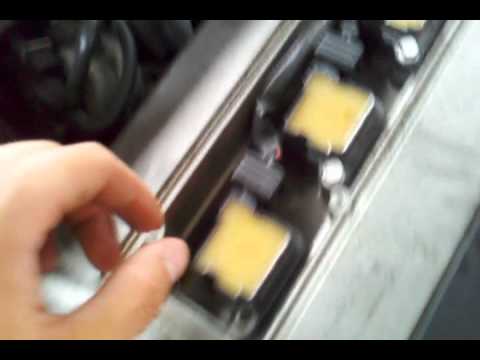
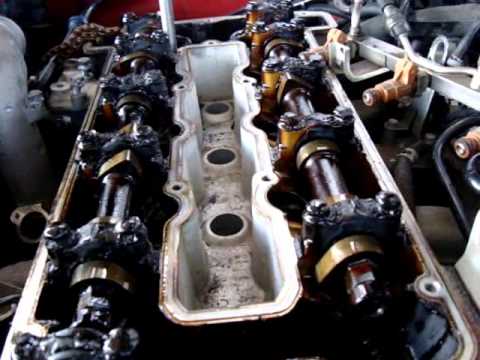
Disconnect the ECU connector. Carefully remove the plastic cover protecting the engine. To avoid mixing up the cables, disconnect only the first spark plug. Using a 10mm socket, unscrew the retaining nut of the first spark plug and pull the boot upwards. The first spark plug is located at the bottom of the well. Before proceeding with the removal, thoroughly clean the wells with compressed air to eliminate any dirt that could fall into the combustion chamber. Using the appropriate spark plug tool, which has a rubber grip, gently insert it onto the spark plug head and unscrew it. Be careful not to drop any foreign objects into the well. Replace the spark plug with one of the same model, carefully inserting it into the well, always using the appropriate tool, and turn it gently while ensuring it threads correctly.
Updated on 8 February 2026 by ScegliAuto
Video tutorial
Related tutorials
Saab 9 3
(2002-2014 /
MK 2)
To be able to replace the spark plugs on the Saab 9-3, you have to open the hood and remove the plastic cover from the top of the engine. With a torx…
Saab 9 3
(2002-2014 /
MK 2)
After opening the front engine bonnet, ensure it remains securely open. It is advisable to carry out this operation with the engine cold to avoid unp…
Saab 9 3
(2002-2014 /
MK 2)
For this job, you will need an 8mm and a 10mm socket wrench, a flat-head screwdriver, and a replacement gasket. Remove the protective caps from the b…
Other guides you may be interested in
|
How to Replace the Alternator on an Opel Meriva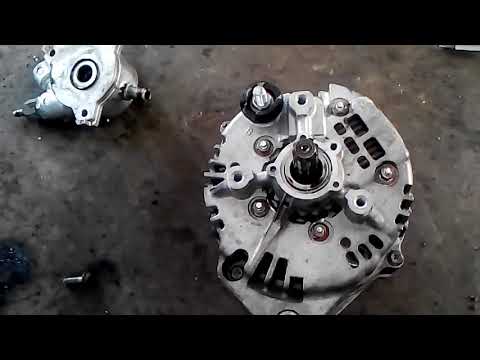
First, release the bonnet from the lever and lift it. Disconnect the battery to protect your electronic devices. Now locate the alternator position on your vehicle. Remove the belt by unscrewing the tensioner pulley to take it off. You can now remove the bolts securing the alternator. Working on the rear of the alternator, disconnect the cables and pipes attached at the back. This allows you to extract the alternator from your vehicle and carry out the necessary work. by ScegliAuto More videos
|
|
For advertising on this site Write to info@scegliauto.com
ScegliAuto is not responsible for any inaccuracy of the data in the lists. To report any inaccuracy or your business (if you own the business in question), please write to info@scegliauto.com
Number of seconds to generate the page: 0.065
(c) ScegliAuto 2026 - info@scegliauto.com - Privacy policy VAT number: IT01247470535 |