
|
Do it yourself
| |||
| ||||


Saab 9 3 - Video tutorial
Model: Saab 9 3
MK 1
- Years 1998-2003 In order to apply a new coating to the door pillars, first remove the glass scraper gasket and clean the underlying surface to prevent impurities from ending up under the new adhesives; also extract the gasket of the descent of the glass that interferes with the edges of the upright. Then peel off the old coating and carefully clean the surface of glue residues (it is suggested to use anti-silicone or thinner). After cleaning, fix the upper part of the new band with paper tape after having oriented it correctly; remove the adhesive protection film and glue it to the upright using a special spatula that will allow the vinyl to adhere perfectly to the upright avoiding the formation of air bubbles and / or wrinkles. Then fold the edges inside and remove the external protective film. Finally reposition the gaskets.
Posted on 25 July 2023 by ScegliAuto
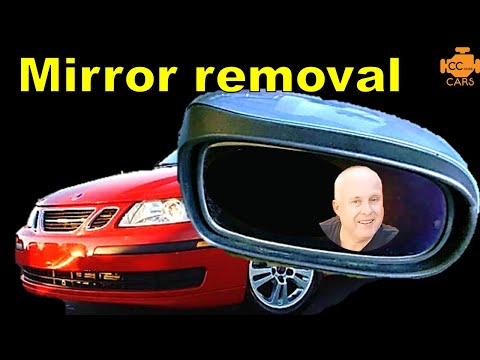 How do you replace the external rearview mirror of the Saab 9-3?
Saab 9 3 (2002-2014 / MK 2) To replace the external rearview mirror of the Saab 9-3, you need to loosen the screws that secure the triangular cover located on the inside of the 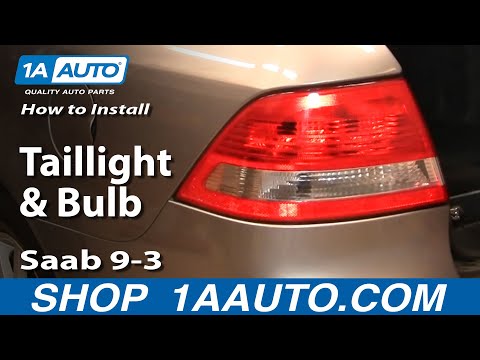 Rear light bulb replacement
Saab 9 3 (2002-2014 / MK 2) Open the rear lid and unhook the side trim panel to gain access to the rear light bulbs. Then unhook the lamp holder (without disassembling the light 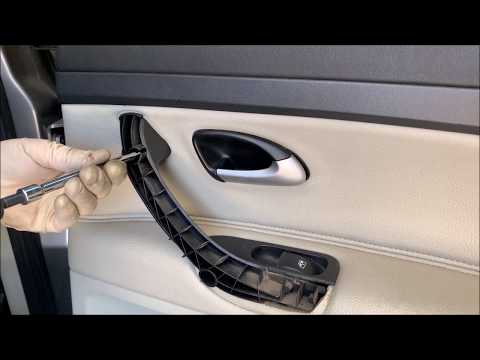 How to remove the door panel on Saab 9 3
Saab 9 3 (2002-2014 / MK 2) We perform the disassembly of the right door panel on Saab 9 3: we disconnect the battery terminals in the engine compartment, with a screwdriver we Other guides that may interest you |
How do I replace the Land Rover Evoque auxiliary battery?
In order to replace the auxiliary battery of the Land Rover Evoque, it is necessary to go inside the passenger compartment and remove the panel which is positioned immediately under the glovebox. Once the screws that secure this panel have been loosened, it will be possible to access the components located in its rear part, including the auxiliary battery. The latter must be disconnected from its cables and the fixing screws must be loosened. The battery can then be replaced with a new one and the panel can be fixed again with its screws. by ScegliAuto More videos
|
|
For advertising on this site Write to info@scegliauto.com
ScegliAuto is not responsible for any inaccuracy of the data in the lists. To report any inaccuracy or your business (if you own the business in question), please write to info@scegliauto.com
Number of seconds to generate the page: 0.028
(c) ScegliAuto 2024 - info@scegliauto.com - Privacy Policy VAT number: IT01247470535 |