
|
Do it yourself
| |||
| ||||


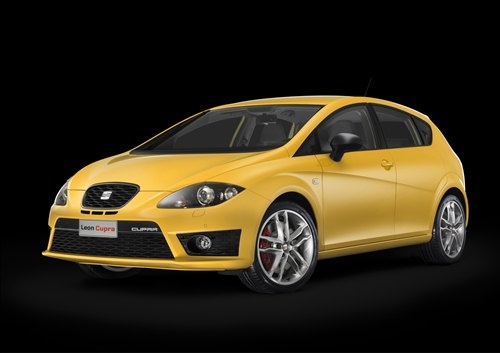
Guide to Removing the Rear Bumper of the Seat Leon
Model: Seat Leon
1P
- Years:
2005, 2006, 2007, 2008, 2009, 2010, 2011, 2012, 2013
Video tutorial
The main instructions today will show you how to remove and replace the rear bumper of the Seat Leon. First, open the boot and start unscrewing the screws located at the top and bottom of the rear bumper; unscrew the additional screws found on both sides of the rear wheel arches, as shown in the video. At this point, gently detach the bumper from the sides until it is completely removed; then refit the new rear bumper after any necessary painting, applying the reverse procedure of disassembly!
Updated on 26 October 2026 by ScegliAuto
Related tutorials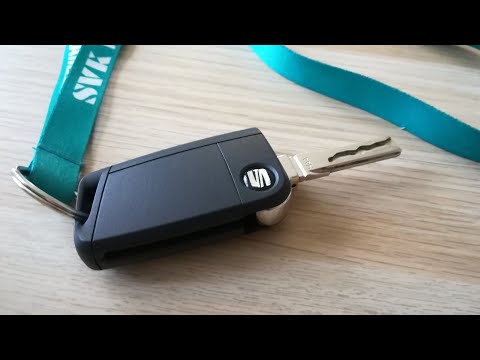
Seat Leon
(2005-2013 /
1P)
Before you start, open the physical key of your Seat Leon by simply pressing the silver button. Begin by prying off the rear cover of the key using a…
Seat Leon
(2012-2019 /
5F, MK 3)
Start by extracting the physical key from your Seat Leon by pressing the silver button located at the top of the key. Once done, you need to unclip t…

Seat Leon
(2012-2019 /
5F, MK 3)
These short and simple instructions will guide us through the process of disassembling and replacing the battery of the key remote for the Seat Leon.…
Other guides you may be interested in
|
How to Reset the Tyre Pressure Warning Light on a Kia Rio?
The tyre pressure warning light displayed on the instrument cluster of the Kia Rio can be reset by inflating the tyres until they reach the recommended pressure value: this value is indicated on the sticker affixed to the driver's door pillar. Once all tyres have been inflated to the recommended pressure, turn on the ignition to check that the light has disappeared: if it is still present, it may be necessary to drive for a few miles, allowing the sensors to work and thus turning off the light. by ScegliAuto More videos
|
|
For advertising on this site Write to info@scegliauto.com
ScegliAuto is not responsible for any inaccuracy of the data in the lists. To report any inaccuracy or your business (if you own the business in question), please write to info@scegliauto.com
Number of seconds to generate the page: 0.049
(c) ScegliAuto 2026 - info@scegliauto.com - Privacy policy VAT number: IT01247470535 |
