
|
Do it yourself
| |||
| ||||


How to replace the license plate light bulb on the Seat Leon
Model: Seat Leon
1P
- Years 2005-2013
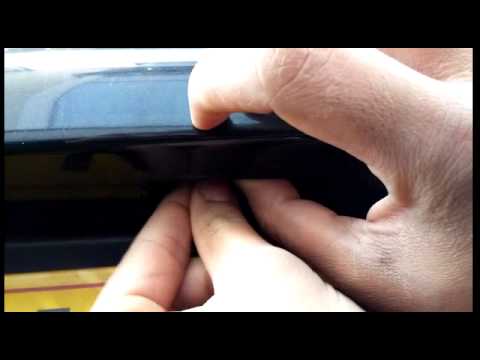
These short and simple instructions will show us how to disassemble and replace the license plate bulbs of the Seat Leon. First, move to the rear of the vehicle and begin to detach and remove the license plate light fixture, prying on the sides; then disconnect the electrical connector to subsequently remove the faulty license plate bulb, as shown in the video. Now install the new license plate bulb, of the correct type and with the same attachment; finally, reassemble the plastic fixture and perform the same operation with the other license plate light!
Posted on 7 June 2024 by ScegliAuto
Video tutorial
Related tutorials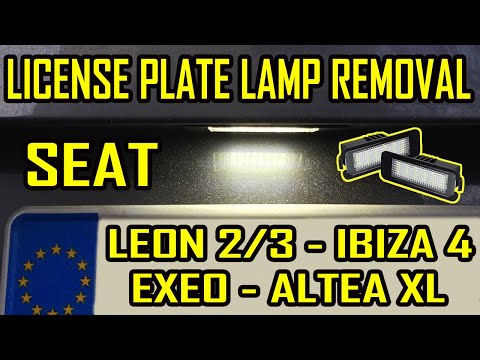
Seat Leon
(2005-2013 /
1P)
Here are the steps to remove and replace the bulb of the number plate light on the Seat Leon, as well as the Altea and Ibiza. First, remove the entir…
Seat Leon
(1999-2005 /
1M)
This guide briefly outlines the steps to remove and replace the number plate bulb on a Seat Leon. First, move to the rear of the vehicle and begin by…

Seat Leon
(2012-2019 /
MK 3, 5F)
In this new guide aimed at all of you who own a third-generation Seat Leon, we will explain the steps you need to follow to correctly complete the re…
Other guides you may be interested in
|
How to Check the Oil Level on a Jeep Renegade?
To check the oil level on a Jeep Renegade, you need to open the bonnet to access the components inside the engine bay: on the lower left side of the engine block, you will find the dipstick for checking the level. This should be pulled out and thoroughly cleaned with a cloth: once cleaned, reinsert it back into its tube and pull it out immediately after. This way, you can check that the oil mark is between the minimum and maximum levels; finally, you can place the dipstick back in its tube. by ScegliAuto More videos
|

|
For advertising on this site Write to info@scegliauto.com
ScegliAuto is not responsible for any inaccuracy of the data in the lists. To report any inaccuracy or your business (if you own the business in question), please write to info@scegliauto.com
Number of seconds to generate the page: 0.245
(c) ScegliAuto 2026 - info@scegliauto.com - Privacy policy VAT number: IT01247470535 |
