
|
Do it yourself
| |||
| ||||


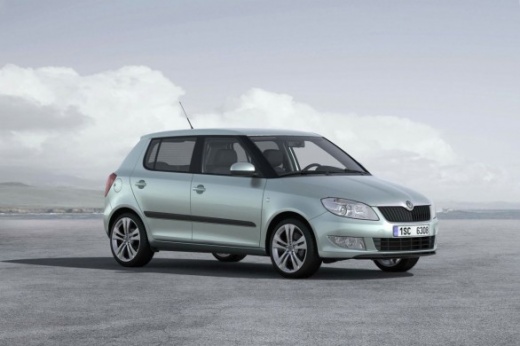
How to replace the rear headlight bulbs of the Skoda Fabia
Model: Skoda Fabia
5J, Mark2
- Years:
2007, 2008, 2009, 2010, 2011, 2012, 2013, 2014
Video tutorial
Today we will discover the instructions that will allow us to disassemble and replace the bulbs and the rear light of the Skoda Fabia, in simple steps. First, we open the rear door of the trunk and start removing the side plastic partition, unscrewing the plastic screw of the headlight and disconnecting the electrical connector of the bulbs; we remove the light from the outside and separate the bulb holder from the light fixture to access the lights, as shown in the video. At this point, we replace any faulty stop bulbs with new ones, respecting the type and power of the lights.
Posted on 31 October 2025 by ScegliAuto
Related tutorials
Skoda Fabia
(2014-2021 /
Mark3, NJ)
Today’s steps will guide you through the process of removing and replacing the rear light and its bulbs on the Skoda Fabia. First, open the boot and …

Skoda Fabia
(2014-2021 /
Mark3, NJ)
In this tutorial, you will learn how to remove and replace the bulbs in the rear light of a Skoda Fabia. First, open the boot and use a screwdriver t…

Skoda Fabia
(1999-2007 /
Mark1, 6Y)
Removing the rear light on a Skoda Fabia. Open the boot lid, remove the inspection cap and (located at the side of the boot) unscrew (with a socket w…
Other guides you may be interested in
|
How to Open the Bonnet on the Mitsubishi L200?
In this tutorial, you will see how to open the bonnet on the Mitsubishi L200, a very simple operation that follows the standard procedure. First, open the vehicle and go to the driver's side, then locate the lever at the lower outer area, just in front of the pedals, and pull it. Next, position yourself in front of the bonnet, locate the second lever above the Mitsubishi logo, and push it to the right, releasing the latch. At this point, you can fully lift the bonnet and secure it with the prop rod. by ScegliAuto More videos
|
|
For advertising on this site Write to info@scegliauto.com
ScegliAuto is not responsible for any inaccuracy of the data in the lists. To report any inaccuracy or your business (if you own the business in question), please write to info@scegliauto.com
Number of seconds to generate the page: 0.076
(c) ScegliAuto 2026 - info@scegliauto.com - Privacy policy VAT number: IT01247470535 |
