
|
Do it yourself
| |||
| ||||


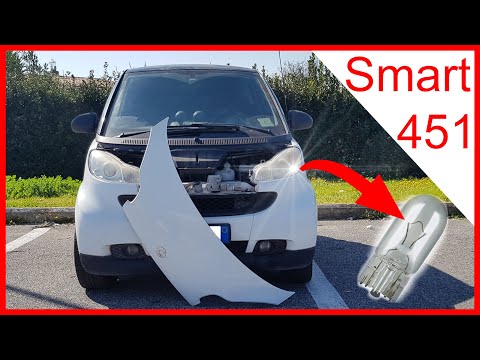
How to replace the side indicator light bulb on a Smart ForTwo
Model: Smart Smart
451
- Years 2007-2015
Before starting, we will have to get out of our Smart ForTwo, and then head towards the side arrow. So let's start by inserting the tip of a slotted screwdriver into the gap between the side arrow and the body, and then lever. After that, we will have to unhook the internal fixing clip, and then extract the arrow from its housing. Once this is done, we will have to rotate the lamp holder, thus reaching the burned out bulb. At this point, we will have to disengage and extract the bulb from its housing, and we will have finished the disassembly. To fit the new side indicator bulb on our Smart ForTwo, we will have to repeat this procedure in reverse, and the replacement will be completed.
Posted on 14 September 2021 by ScegliAuto
Video tutorial
Related tutorials
Smart
(2004-2006 /
454, Fourfour1)
Let's start by removing the front top cover of our Smart ForTwo, using the ignition key, and then removing the plastic underneath. After that, we wil…

Smart
(2007-2015 /
451)
Today we will discover the instructions that will allow us to disassemble and replace the third brake light bulb of the Smart Fortwo in simple steps.…
Smart
(1998-2007 /
450)
Let's start by unhooking the two lower hooks that secure the front cover of our Smart ForTwo, and then disengage and remove the cover itself. By doin…
Other guides you may be interested in
|
How to Remove the Spark Plugs on an Opel Astra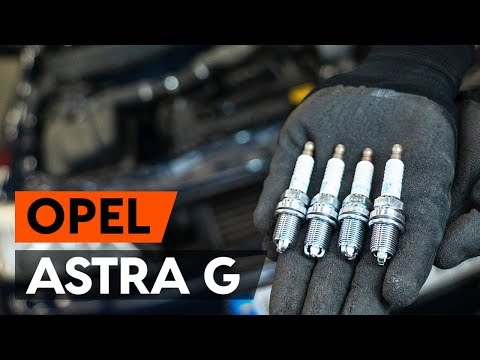
Want to remove the spark plugs on an Opel Astra? Here's how to proceed: pull the engine bay release lever and lift the front bonnet, securing it. Remove the plastic cover on the soundproofing panel covering the engine (if present), then remove the pins on the coil bar using a screwdriver. Disconnect the coils by hand after unplugging the power connector, then use your socket to unscrew the spark plugs and pull them out of the cylinder head. Take the new spark plugs and guide them into the engine head with the socket extension, tighten them and reconnect the respective power connectors. Finally, close the engine bay. by ScegliAuto More videos
|

|
For advertising on this site Write to info@scegliauto.com
ScegliAuto is not responsible for any inaccuracy of the data in the lists. To report any inaccuracy or your business (if you own the business in question), please write to info@scegliauto.com
Number of seconds to generate the page: 0.066
(c) ScegliAuto 2026 - info@scegliauto.com - Privacy policy VAT number: IT01247470535 |