
|
Do it yourself
| |||
| ||||


How to Replace the Cabin Air Filter on a Suzuki APV
Model: Suzuki Apv
MK 1
- Years 2004-2024
To replace the cabin air filter on the vehicle, follow these steps: access the cabin and sit in the passenger seat, open the glove compartment and press inward on both sides of the drawer to unlock it and pull it out. Behind the compartment, at the back, is the cabin air filter housing; to open it, use a utility knife to cut around the edge of the access door. Once the door is open, remove the filter and install the new one, always checking first that the filter specifications are compatible with the vehicle model. Finally, replace the filter cover and the glove compartment.
Updated on 16 May 2026 by ScegliAuto
Video tutorial
Related tutorials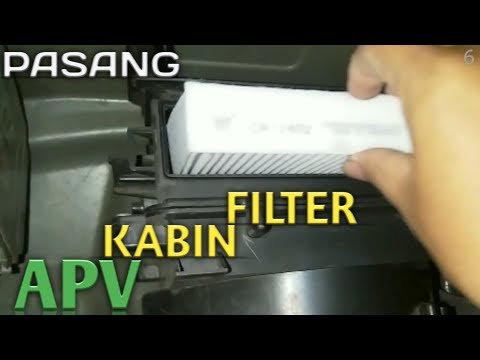
Suzuki Apv
(2004-2024 /
MK 1)
In this tutorial, you will see how to replace the cabin air filter in the Suzuki APV, a very simple and quick operation. Start by opening the glove c…
Suzuki Apv
(2004-2024 /
MK 1)
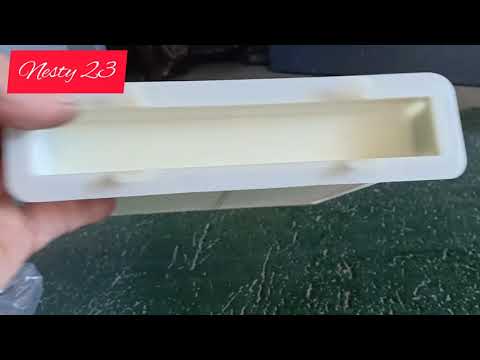
The Suzuki APV does not come with a cabin air filter installed by default. If you need to install one, follow this tutorial to see how to proceed. Fi…
Suzuki Apv
(2004-2024 /
MK 1)
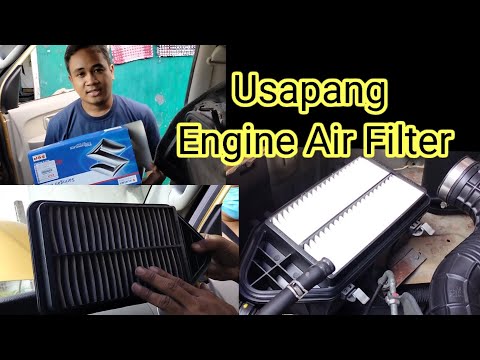
As shown in this tutorial, replacing the air filter in a Suzuki APV is a very simple and quick task. First, open the hood, then disconnect the intake…
Other guides you may be interested in
|
How to Check the Oil Level on a Jeep Renegade?
To check the oil level on a Jeep Renegade, you need to open the bonnet to access the components inside the engine bay: on the lower left side of the engine block, you will find the dipstick for checking the level. This should be pulled out and thoroughly cleaned with a cloth: once cleaned, reinsert it back into its tube and pull it out immediately after. This way, you can check that the oil mark is between the minimum and maximum levels; finally, you can place the dipstick back in its tube. by ScegliAuto More videos
|
|
For advertising on this site Write to info@scegliauto.com
ScegliAuto is not responsible for any inaccuracy of the data in the lists. To report any inaccuracy or your business (if you own the business in question), please write to info@scegliauto.com
Number of seconds to generate the page: 0.272
(c) ScegliAuto 2026 - info@scegliauto.com - Privacy policy VAT number: IT01247470535 |
