
|
Do it yourself
| |||
| ||||


How to Replace the Rear Light Bulbs on a Suzuki Swift
Model: Suzuki Swift
MK 6, A2L
- Years 2017-2024
In this brief guide, see the steps to remove and replace the rear light bulbs on a Suzuki Swift. First, open the boot lid and start unscrewing the fixing screws found on the sides of the light using a socket spanner with an extension; then, remove the rear light by disconnecting the bulb connector found at the back, as shown in the video. At this point, remove and replace any faulty bulbs with new ones, and finally reassemble the light!
Updated on 19 June 2026 by ScegliAuto
Video tutorial
Related tutorials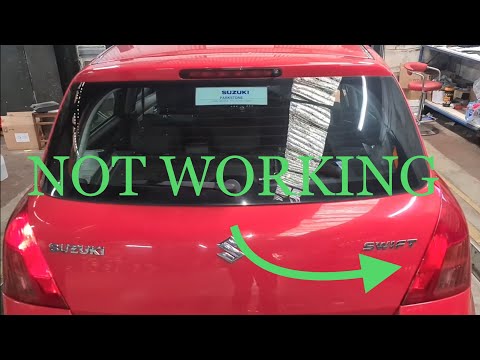
Suzuki Swift
(2004-2010 /
MK 4, Rs41)
To replace the rear light bulb on a Suzuki Swift, open the boot and loosen the screws next to the light. Once the screws are loosened, you can pull t…
Suzuki Swift
(2004-2010 /
MK 4, Rs41)
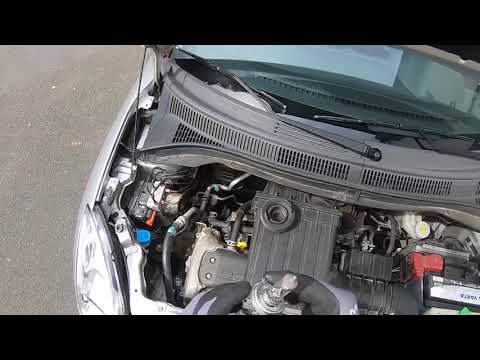
How to replace the front headlight bulbs on Swift? Open the bonnet by pulling the lever located at the bottom right of the dashboard, and secure it w…

Suzuki Swift
(2004-2010 /
MK 4, Rs41)
Learn how to replace the bulbs located in the front headlamp of a Suzuki Swift. Open the front bonnet by pulling the lever located at the bottom righ…
Other guides you may be interested in
|
How to Open the Bonnet on the Lancia Y
To open the bonnet on this vehicle, follow these simple instructions: first, open the driver's door and locate the lever positioned just below the dashboard, marked with an image of the vehicle with the bonnet open. Pull this lever towards you until you hear a "click" indicating the bonnet is released. Next, exit the cabin and stand in front of the bonnet to disengage the safety catch and complete the opening. To do this, slightly lift the bonnet, locate the yellow lever underneath, and pull it to the left to fully release and open the bonnet. by ScegliAuto More videos
|
|
For advertising on this site Write to info@scegliauto.com
ScegliAuto is not responsible for any inaccuracy of the data in the lists. To report any inaccuracy or your business (if you own the business in question), please write to info@scegliauto.com
Number of seconds to generate the page: 0.082
(c) ScegliAuto 2026 - info@scegliauto.com - Privacy policy VAT number: IT01247470535 |
