
|
Do it yourself
| |||
| ||||


Replacement of the rear headlight bulbs of the Toyota Auris
Model: Toyota Auris
E180
- Years 2012-2018
Today's steps will show us how to disassemble and replace the rear taillight bulbs of the Toyota Auris. First, we open the rear hatch of the trunk and start removing the plastic cover located on the side, accessing the internal lights; instead, we replace the other stop lights by removing the taillight, unscrewing the plastic screw and disconnecting the electrical connector to remove it. We then install the new compatible bulbs, of the right type and with the same fitting, checking their operation before reassembling everything!
Posted on 27 October 2024 by ScegliAuto
Video tutorial
Related tutorials
Toyota Auris
(2012-2018 /
E180)
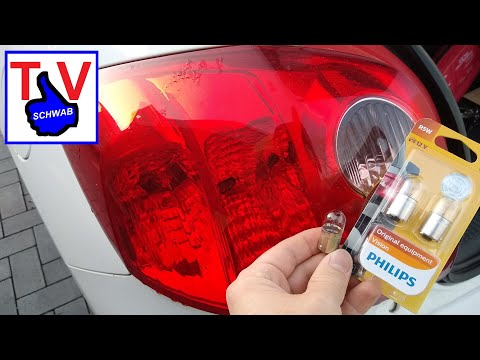
Today, we will go through the instructions to remove and replace the rear light bulbs on a Toyota Auris. First, open the boot lid and start unscrewin…
Toyota Auris
(2007-2012 /
E150)
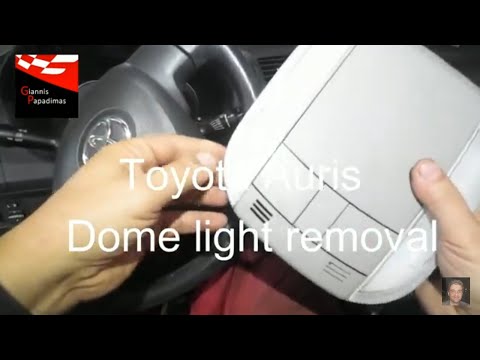
In this short and simple guide, you will learn how to remove and replace the interior light bulbs of the Toyota Auris. First, get inside the vehicle …
Toyota Auris
(2007-2012 /
E150)
To replace the rear light bulb on a Toyota Auris, open the tailgate to access the side of the boot where the bulb needs replacing. Here, you can deta…
Other guides you may be interested in
|
How to Replace the Cabin Filter on the Opel Grandland X
If you own an Opel Grandland X and want to know the steps to replace the cabin air filter, carefully read the following guide and follow the described steps. First, enter the vehicle and go to the passenger side. Then, locate the box containing the air filter in the lower side area of the dashboard. Remove the cover of the box and finally replace the old filter with the new one. Refit the cover, and you are done. by ScegliAuto More videos
|
|
For advertising on this site Write to info@scegliauto.com
ScegliAuto is not responsible for any inaccuracy of the data in the lists. To report any inaccuracy or your business (if you own the business in question), please write to info@scegliauto.com
Number of seconds to generate the page: 0.108
(c) ScegliAuto 2026 - info@scegliauto.com - Privacy policy VAT number: IT01247470535 |
