
|
Do it yourself
| |||
| ||||


How to Replace the Bulb on the Toyota Auris
Model: Toyota Auris
E180
- Years 2012-2018
To replace the headlight bulb on the Toyota Auris, you first need to gain access to the rear of the headlight. This can be done by removing the first cap, the blue one. Using the appropriate tool, remove the locking pin, rotate, and extract the mechanism. Now you can remove the black cap protecting the bulbs, lever it off, and extract the blown bulb. Now, simply insert the new bulb, taking care not to touch it directly with your fingers, and then replace the various parts that were removed back in their place.
Updated on 17 June 2026 by ScegliAuto
Video tutorial
Related tutorials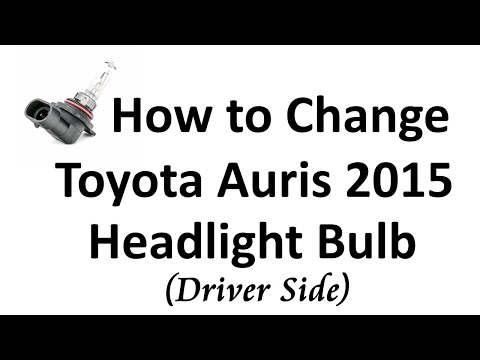
Toyota Auris
(2012-2018 /
E180)
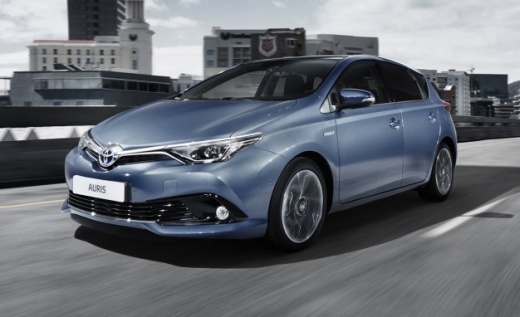
To replace the front headlight bulb on the Toyota Auris, open the bonnet to access the engine compartment. This will allow you to loosen the screws s…

Toyota Auris
(2007-2012 /
E150)
To replace the rear light bulb on a Toyota Auris, open the rear hatch of the car to access the boot: on the side of the boot, corresponding to the bu…

Toyota Auris
(2012-2018 /
E180)
In order to deactivate the headlight bulb of the Toyota Auris, you need to open the hood so that you can access the components inside the engine comp…
Other guides you may be interested in
|
Fuses Location and Diagram for the Volkswagen Crafter
In this guide, we will look at the location of the fuse boxes and how to find their diagram for the Volkswagen Crafter. First, get inside the vehicle and start by removing the plastic cover found under the steering wheel, to access the internal fuse box; you will find another fuse box in the engine compartment by removing the plastic cover located next to the battery. At this point, use the owner's manual to find the fuse diagram, which will allow you to identify and replace any blown fuses with new ones! by ScegliAuto More videos
|
|
For advertising on this site Write to info@scegliauto.com
ScegliAuto is not responsible for any inaccuracy of the data in the lists. To report any inaccuracy or your business (if you own the business in question), please write to info@scegliauto.com
Number of seconds to generate the page: 0.447
(c) ScegliAuto 2026 - info@scegliauto.com - Privacy policy VAT number: IT01247470535 |
