
|
Do it yourself
| |||
| ||||


How to Replace the Rear Shock Absorbers on the Toyota Aygo
Model: Toyota Aygo
MK 1, Ab10
- Years 2005-2014
On the Toyota Aygo, the work is done on the rear: lift the car and secure it on axle stands, then remove the rear wheel to access the suspension. Before tackling the bolts, spray a releasing agent on the most corroded parts to work without unnecessary force. When you reach the rear shock absorber of the Toyota Aygo, the area is "unloaded" by supporting the axle with a jack, so that everything is not under tension when working on the lower mounting. The lower bolt is then worked with a spanner/socket while the jack supports the assembly and helps align the holes when necessary. For the upper mounting, access is from the boot: open the internal area and reach the upper anchorage point behind the trim, allowing you to unscrew and then close the upper support without complicated disassembly from the outside. When fitting the replacement, position the new shock absorber on the Toyota Aygo, first placing the upper part in position and then guiding the lower part onto the axle, using the jack to perfectly align the bolt hole. Once the fittings are secured, refit the wheel.
Posted on 14 August 2026 by ScegliAuto
Video tutorial
Related tutorials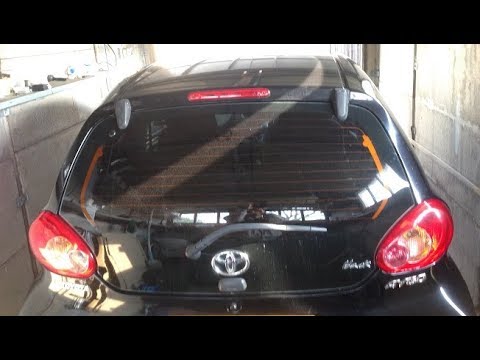
Toyota Aygo
(2005-2014 /
MK 1, Ab10)
This guide will show you how to open and close the boot of the Toyota Aygo. First, move to the rear of the vehicle and press the button located under…

Toyota Aygo
(2005-2014 /
MK 1, Ab10)
Before you start, open the tailgate of your Toyota Aygo. Begin by unscrewing and removing the screw that secures the side cover of the boot. Next, mo…

Toyota Aygo
(2005-2014 /
MK 1, Ab10)
In a few simple steps, we will see the process of disassembling and replacing the rear headlight bulbs of the Toyota Aygo. First, open the rear trunk…
Other guides you may be interested in
|
How to Repair the Key Spring of the Peugeot 207?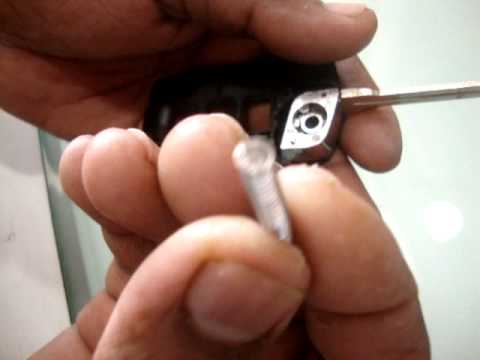
Over time, frequent use of the key's flip mechanism in the vehicle, dozens of times a day, inevitably leads to wear of the internal spring. As shown in this video, replacing the spring is quite simple and takes little time. After opening the casing halfway, first position the key, then the spring housing, and finally insert the spring into the previously mentioned housing. Close the casing by rotating it clockwise, ensuring all components fit perfectly, and test the key's flip mechanism. by ScegliAuto More videos
|

|
For advertising on this site Write to info@scegliauto.com
ScegliAuto is not responsible for any inaccuracy of the data in the lists. To report any inaccuracy or your business (if you own the business in question), please write to info@scegliauto.com
Number of seconds to generate the page: 0.112
(c) ScegliAuto 2026 - info@scegliauto.com - Privacy policy VAT number: IT01247470535 |
