
|
Do it yourself
| |||
| ||||


What to Do If the Fuel Gauge Is No Longer Accurate
Model: (Various brands) Various
Video tutorial
The YouTuber explains that after refuelling a scooter, the reserve light stays on and the level indicator goes haywire, with all the level bars flashing along with the light. The problem occurs at ignition, but sometimes disappears after riding for a while; however, if you turn off and then back on the ignition, it reappears immediately. The float works, as does its resistance, and even replacing it does not solve the issue. However, he notes a detail regarding the battery, which stops at 13.6V. He replaces it, but the situation does not change. Then, a light bulb goes off in his head. Just before the problem appeared, he had removed the front panel to repair a broken clip: while closing, he pinched a wire going to the instrumentation. Upon checking it, he notices it is marked, probably with damaged internal wires. He replaces and reroutes it, and the problem is resolved. Therefore, before replacing floats and control units, check the wires and connectors.
Posted on 17 October 2026 by ScegliAuto
Related tutorials
(Various brands) Various
Have you ever noticed that on the fuel gauge, next to the petrol station icon, there is an arrow? This arrow is a helpful aid to identify which side …

(Various brands) Various
This video explains how your vehicle warns you in every possible way about the correct fuel type: it is written on the dial of some brands, and most …

(Various brands) Various
This YouTuber explains the main reason why the fuel level indicator in our car doesn't work. In fact, in 80% of cases, the problem is due to the leve…
|
How to Replace the Battery on a Harley Davidson Road Glide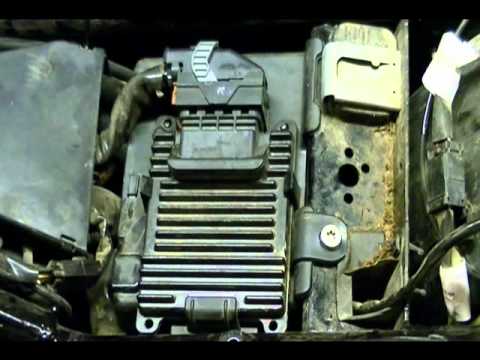
To replace the battery on a Harley Davidson Road Glide, loosen the screws securing the saddlebags on the sides of the bike so they can be removed. After removing the bags, unscrew the bolts holding the seat, detaching it from the top of the bike: underneath, you will find the battery, which needs to be freed from its securing screws and disconnected from the appropriate cables. This will allow you to insert the new replacement part, securing and connecting it properly, then cover everything with the seat. by ScegliAuto More videos
|
|
For advertising on this site Write to info@scegliauto.com
ScegliAuto is not responsible for any inaccuracy of the data in the lists. To report any inaccuracy or your business (if you own the business in question), please write to info@scegliauto.com
Number of seconds to generate the page: 0.040
(c) ScegliAuto 2026 - info@scegliauto.com - Privacy policy VAT number: IT01247470535 |
