
|
Do it yourself
| |||
| ||||


|
Model: (Various brands) Various
This video tutorial explains how to adjust the valve clearance in a 260cc engine. The necessary tools you will need for this operation are: an 8mm spanner, pliers, and feeler gauges of 0.10, 0.15, and 0.20. First, remove the pins and take off the cylinder head cover, locating the two exhaust valves and two intake valves connected by their respective rockers and bearings. Above the valves, you will find the adjustment screws; before proceeding, you must set the engine to the firing position, which is when all the valves are closed. It is important to work with a cold engine. After setting the engine to the correct phase and removing the caps and water pump, take the feeler gauge and insert it between the valves and the rocker, setting the intake valves to 0.10 'soft', meaning that 0.15 should fit with difficulty, and then similarly set the exhaust valves to 0.15 soft, meaning that 0.20 should fit with difficulty.
Updated on 24 May 2026 by ScegliAuto
Video tutorial
Related tutorials
(Various brands) Various
Today, learn how to set the clock on the vehicle's speedometer. To perform this simple operation, turn on the onboard computer and press the menu but…

(Various brands) Various
In this video we can see how to adjust the clock on a Harley Davidson motorcycle: we need to turn on the instrument panel, and then use the button lo…

(Various brands) Various
In this video, we see how to set the logo of our car on the Blaupunkt Key Largo 970 radio device: from the "Home" screen, we go to "settings" and cli…
|
How to Replace the Clutch on a Triumph Speed Triple?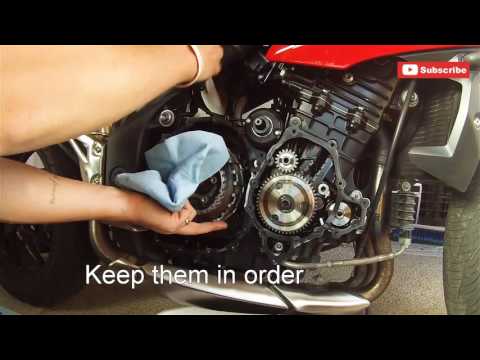
To replace the clutch on a Triumph Speed Triple, loosen the bolts securing the covers of the three casings located on the right side of the bike, namely the starter motor, the engine, and then the clutch. Once these covers are removed, you can access the bolts securing the clutch, unscrew them, and slide the clutch plates out of their housing. This will allow you to insert the new plates into their place, securing everything with the appropriate bolts; finally, reinstall all the casings. by ScegliAuto More videos
|
|
For advertising on this site Write to info@scegliauto.com
ScegliAuto is not responsible for any inaccuracy of the data in the lists. To report any inaccuracy or your business (if you own the business in question), please write to info@scegliauto.com
Number of seconds to generate the page: 0.038
(c) ScegliAuto 2026 - info@scegliauto.com - Privacy policy VAT number: IT01247470535 |
