
|
Do it yourself
| |||
| ||||


(Various brands) Various - Video tutorial
Model: (Various brands) Various
- Years 1991-1998 The efficiency of your car's braking system is essential to ensure the safety of the driver and that of other motorists. The guide shows us the basic steps to proceed with the replacement of the brake pads, components to which a lot of care and attention must be paid. First, you need to turn the steering wheel to the side you want to work on, so that the brake calipers are easier to reach. Next, remove the rim after proceeding to unscrew the wheel bolts. Using a size 9 hex wrench, unscrew the Allen screws which, on the rear side, hold the caliper fixed to the hub. Once the Allen screws have been removed, the caliper can be removed from the disc without detaching it from the braking system pipes. To extract the worn pads, it is advisable to press on them, levering from the outside in the space between them and the caliper.
Posted on 12 September 2023 by ScegliAuto
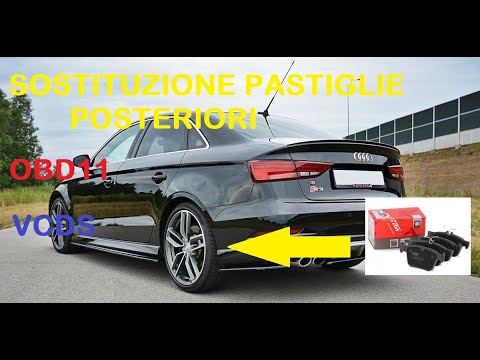 Replacement rear brake pads with electric handbrake on audi
(Various brands) Various To be able to replace the rear brake pads on an Audi car that is equipped with the electric brake that blocks the rear caliper. Therefore, to proceed 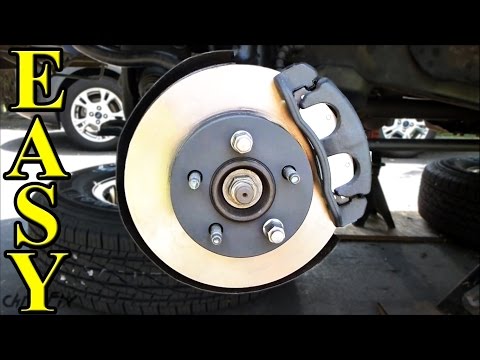 Brake pads replacement
(Various brands) Various Replacing the disc brake pads if they are worn out? Let's see the disassembly of the front or rear pads. We lift the car on a column bridge (up to th  The replacement of the disc brake pads on a 2001 Honda DIO ZX scooter AF34.
(Various brands) Various In this video tutorial, we can see how to replace the brake pads on a Honda DIO ZX 2001 AF34 scooter: the first thing to do is to remove the brake ca Other guides that may interest you
|
Frequently Asked QuestionsDisassembly of the gear knob on the Lancia Ypsilon 2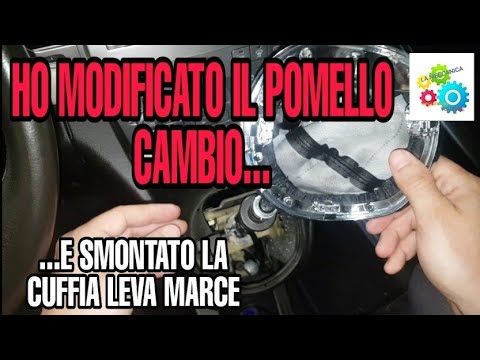
Today we will see, in this video tutorial, how to remove and replace the gear knob on the second series Lancia Ypsilon, but also on the Lancia Musa, in simple and quick steps. We get inside the car and start by removing the old gear knob; to do this, just unscrew it anticlockwise, as shown in the video. At this point we also remove the gearshift gaiter, in order to replace, if necessary, it too; we just have to fix the new headset and insert the new gear knob, screwing it correctly and without creating play on the gear lever! by ScegliAuto More videos
|
|
For advertising on this site Write to info@scegliauto.com
ScegliAuto is not responsible for any inaccuracy of the data in the lists. To report any inaccuracy or your business (if you own the business in question), please write to info@scegliauto.com
Number of seconds to generate the page: 0.103
(c) ScegliAuto 2024 - info@scegliauto.com - Privacy Policy VAT number: IT01247470535 |