
|
Do it yourself
| |||
| ||||


Service light reset on a Volkswagen Multivan T6
Model: Volkswagen Transporter
MK 6, T6
- Years 2014-2025
Through this very short video tutorial, you will be able to see the entire step-by-step procedure for resetting the service light on a Volkswagen Multivan T6. The operation is very simple and quick to perform, and you can do it independently after changing the engine oil in the vehicle, but let's see how to proceed immediately. First, press and hold the "00/SET" button on the right side of the speedometer and then turn on the car's ignition. After doing this, we will see a request to reset the engine oil life, so we confirm by pressing the "OK/RESET" button on the right lever of the steering wheel. Finally, we perform the same procedure, but with the hazard lights on, to also reset the maintenance interval.
Posted on 6 October 2024 by ScegliAuto
Video tutorial
Related tutorials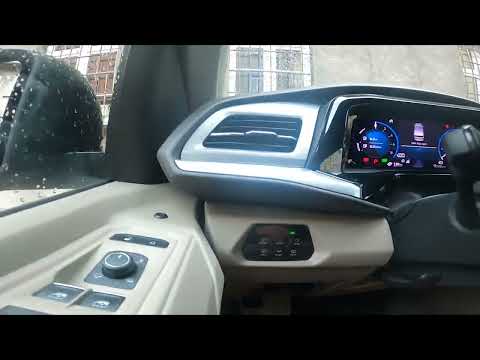
Volkswagen Transporter
(2014-2025 /
MK 6, T6)
Today's guide will show you the steps to locate the fuse boxes of the Volkswagen Multivan. First, get into the vehicle and locate the internal fuse b…
Volkswagen Transporter
(2014-2025 /
MK 6, T6)
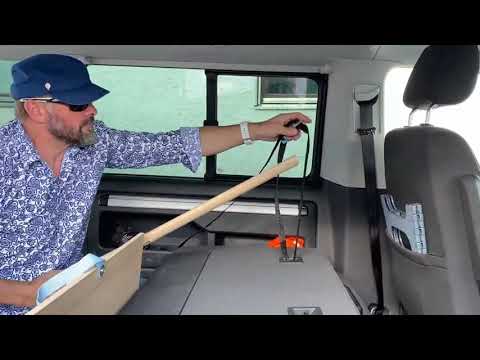
Before you can start, enter the rear side of the cabin of your Volkswagen Multivan T6. Begin by unclipping and removing the seat rail covers. Next, u…

Volkswagen Transporter
(2014-2025 /
MK 6, T6)
To reset the Service light on the Volkswagen Transporter, press and hold the 0.0 button located on the right side of the instrument cluster while it …
Other guides you may be interested in
|
How to reset the tyre pressure warning light on a Hyundai Tucson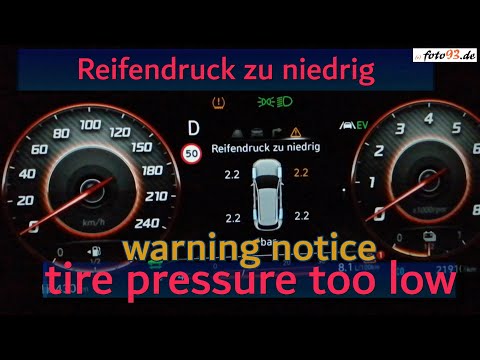
Below are the instructions to reset the tyre pressure warning light (TPMS) on a Hyundai Tucson. First, get into the vehicle and turn on the instrument cluster; then navigate to the vehicle settings until you reach the tyre pressure monitor, identifying the tyre with incorrect pressure. At this point, restore all tyre pressures according to the specifications indicated on the label; this will reset the TPMS and the warning light will be cleared from the instrument cluster! by ScegliAuto More videos
|
|
For advertising on this site Write to info@scegliauto.com
ScegliAuto is not responsible for any inaccuracy of the data in the lists. To report any inaccuracy or your business (if you own the business in question), please write to info@scegliauto.com
Number of seconds to generate the page: 0.112
(c) ScegliAuto 2026 - info@scegliauto.com - Privacy policy VAT number: IT01247470535 |
