
|
Do it yourself
| |||
| ||||


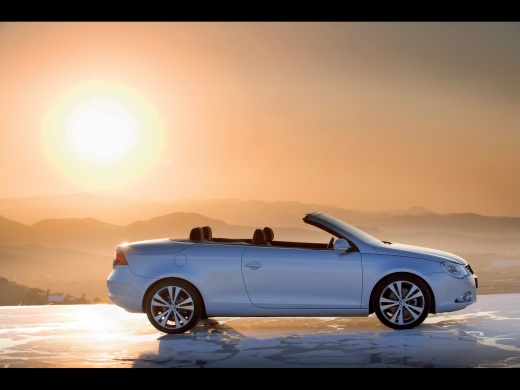
How to replace the external fuse box of the Volkswagen EOS.
Model: Volkswagen Eos
MK 1
- Years:
2006, 2007, 2008, 2009, 2010, 2011, 2012, 2013, 2014, 2015
Video tutorial
In this guide, we will go over the main instructions on how to disassemble and replace the external fuse box in the engine compartment of the Volkswagen EOS. First, let's open the hood of the car and start by disconnecting the battery terminals (positive and negative); then, we will disconnect the power cables from the fuse box, subsequently unscrewing the mounting screws and disconnecting the electrical connector of the control unit, as shown in the video. At this point, it will be possible to remove the fuse box, replacing it with a new one if necessary; we will then reassemble and connect the fuse box.
Posted on 8 December 2025 by ScegliAuto
Related tutorials
Volkswagen Eos
(2006-2015 /
MK 1)
With the indications provided in this new guide, you will finally be able to locate the fuse box inside your Volkswagen Eos independently. First, rea…

Volkswagen Eos
(2006-2015 /
MK 1)
This guide will help you locate the fuse box in your Volkswagen Eos. First, take your seat in the driver's position and leave the door open. Proceed …

Volkswagen Eos
(2006-2015 /
MK 1)
Below, you will discover the steps to access the internal fuse box of the Volkswagen EOS, retrieving the fuse diagram. First, open the driver's side …
ScegliAuto offers an extensive international collection of automotive tutorials available in 12 languages. Each guide combines instructional videos with original explanations written by experienced human editors, along with information about the car models covered.
Other guides you may be interested in
|
How to Reset the Tire Pressure Light on the Land Rover Range Rover Evoque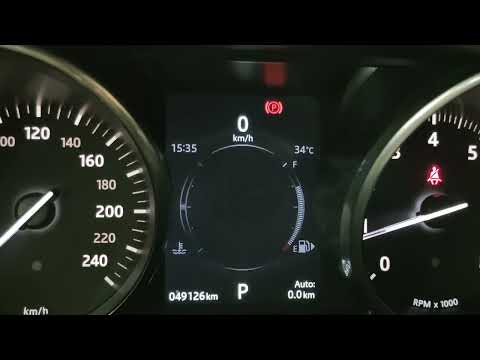
Today, let's go through the steps to reset the tire pressure light on the Land Rover Range Rover Evoque. First, get in the vehicle and turn on the ignition; then navigate to the settings on the onboard computer and select the tire pressure option to view the values, as shown in the video. At this point, restore the correct pressure in all four tires to clear the tire pressure warning light that appears on the instrument cluster! by ScegliAuto More videos
|
|
For advertising on this site Write to info@scegliauto.com
ScegliAuto is not responsible for any inaccuracy of the data in the lists. To report any inaccuracy or your business (if you own the business in question), please write to info@scegliauto.com
Number of seconds to generate the page: 0.158
(c) ScegliAuto 2026 - info@scegliauto.com - Privacy policy - About us VAT number: IT01247470535 |
