
|
Do it yourself
| |||
| ||||


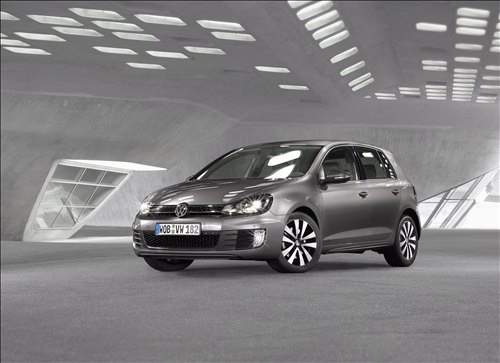
How to Change the Wiper Blades in a Volkswagen Golf
Model: Volkswagen Golf
Golf 6, MK 6, 5K1, Golf VI
- Years:
2008, 2009, 2010, 2011, 2012
Video tutorial
To replace the wiper blades on a Volkswagen Golf 6, lift the wiper arms away from the windscreen to the service position. Next, rotate the blade to access the attachment system and press the locking tab to detach it from the arm, sliding it downwards. At this point, take the new blade, ensuring it is the same type and length, and insert it onto the arm until you hear the mechanism click into place. Repeat the same operation for the other wiper. Finally, gently lower the arms back onto the windscreen, avoiding letting them drop onto the glass, and check the proper functioning of the new blades by activating the wipers.
Posted on 18 July 2026 by ScegliAuto
Related tutorials
Volkswagen Golf
(2008-2012 /
Golf 6, MK 6, 5K1, Golf VI)
Learn how to change the front wiper blades on a Volkswagen Golf 6. Take the wiper blade (to be replaced) with your hands, gently pull the wiper arm (…

Volkswagen Golf
(2012-2019 /
MK 7, Golf 7, Golf VII)
It is important to have good visibility in case of rain, and to achieve this, you need to keep your wipers efficient and replace the blades when nece…
Volkswagen Golf
(2003-2008 /
Golf 5, MK 5, Golf V)
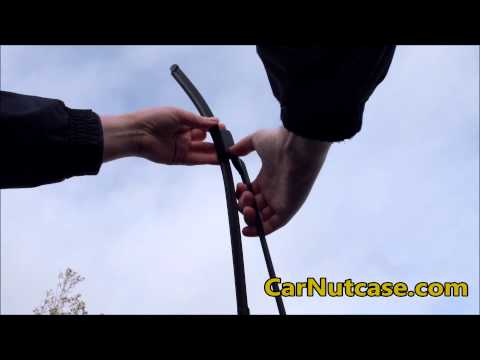
Replace the damaged wiper blades on the Golf 5. Take the front wiper blade (to be replaced) with your hands, pull the movable blade as shown in the v…
Other guides you may be interested in |
How to Reset the Tire Pressure Light on a MG ZS?
On the instrument cluster of the MG ZS, the tire pressure light that appears can be reset by inflating the tires to the correct pressure: this value will be indicated on the sticker attached to the driver's door pillar. Once the tires have been properly inflated, you can turn on the instrument cluster and navigate through the menu until you find the option that indicates tire pressure: if this screen shows the new values, the light will turn off; otherwise, you will need to drive for a few miles so that the sensors can read the new values and turn off the light afterward. by ScegliAuto More videos
|
|
For advertising on this site Write to info@scegliauto.com
ScegliAuto is not responsible for any inaccuracy of the data in the lists. To report any inaccuracy or your business (if you own the business in question), please write to info@scegliauto.com
Number of seconds to generate the page: 0.016
(c) ScegliAuto 2026 - info@scegliauto.com - Privacy policy VAT number: IT01247470535 |
