
|
Do it yourself
| |||
| ||||


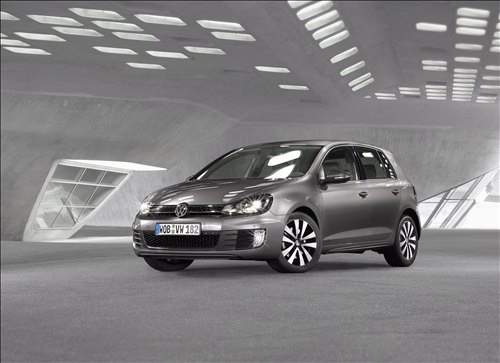
How to Replace the Fog Light Bulb on Volkswagen Golf 6
Model: Volkswagen Golf
Golf 6, MK 6, 5K1, Golf VI
- Years:
2008, 2009, 2010, 2011, 2012
Video tutorial
Replacing the fog light bulb on a Volkswagen Golf 6 is a straightforward task due to easy access. You can replace it directly from the front of the car without needing to access through the wheel arch like many other models. First, remove the fake air intake that frames the fog light; it will be clipped in place, and you can pry it off using a flathead screwdriver or, preferably, a plastic lever. Once the fake air intake is removed, you will have access to the entire fog light, which is secured to the bumper with a screw located on its outer part. After removing the screw, the fog light should come out easily, giving access to the bulb at the rear connected via a power connector. At this point, simply disconnect the connector and remove the bulb, which is secured to the fog light with a simple bayonet fitting, allowing you to replace it with a new one and reassemble everything.
Updated on 17 March 2026 by ScegliAuto
Related tutorials
Volkswagen Golf
(2008-2012 /
Golf 6, MK 6, 5K1, Golf VI)
In this tutorial, you will learn how to remove and replace the front fog light bulb on a Volkswagen Golf Mk6, as well as on most cars, by following t…

Volkswagen Golf
(2008-2012 /
Golf 6, MK 6, 5K1, Golf VI)
To replace the front headlight bulb of the Volkswagen Golf 6, lift the bonnet to access the rear of the headlight corresponding to the bulb to be rep…
Volkswagen Golf
(2008-2012 /
Golf 6, MK 6, 5K1, Golf VI)
To replace the front headlamp bulb of the Volkswagen Golf 6, open the bonnet to access the back of the headlamp where the bulb needs to be replaced. …
Other guides you may be interested in
|
How to Open the Hood of the BMW X3
Today, you will learn how to open and close the hood of the BMW X3. To perform this simple operation, lift the hood release lever located next to the door seal on the driver’s side. After pulling the lever, you will notice that the hood will lift slightly. Position yourself in front of the hood and lift it after moving the internal lever from left to right. To keep the hood secure during maintenance, use the side support rod. To close the hood, simply let it fall back into place. by ScegliAuto More videos
|
|
For advertising on this site Write to info@scegliauto.com
ScegliAuto is not responsible for any inaccuracy of the data in the lists. To report any inaccuracy or your business (if you own the business in question), please write to info@scegliauto.com
Number of seconds to generate the page: 0.043
(c) ScegliAuto 2026 - info@scegliauto.com - Privacy policy VAT number: IT01247470535 |
