
|
Do it yourself
| |||
| ||||


How to Replace Logos and Badges on the Volkswagen Golf GTI
Model: Volkswagen Golf
MK 6, Golf VI, Golf 6, 5K1
- Years 2008-2012
Start by removing the four Torx screws that secure the front grille, then use plastic spatulas to completely detach it. To remove the clips holding the badge you want to replace, heat it with a hairdryer to make removal easier. Carefully pry it off with a screwdriver, using a plastic lever if necessary. Clean the area thoroughly. You may need to adapt the new badge to the existing holes. The supplied screws will likely be too long, so trim them down. Remove the Volkswagen logo and apply the new black shiny one. The red GTI badge can be found on Amazon with code B01BDN7GB8 for £42.95 plus £11.99 delivery. The black front emblem is also available on Amazon with code B00KYLFOYC for £43.11 plus £9.95 delivery. Now, reconnect the grille clips and reassemble everything on the vehicle with the Torx screws. Don't forget the rear logo, which can be removed with the plastic spatula. This is also available on Amazon for £42.33 with free delivery and can be found under code B07SRJFL82. For installation, it’s even simpler; after cleaning the base, just apply it with double-sided tape, unless you want to paint the base as our YouTuber did.
Updated on 7 July 2026 by ScegliAuto
Video tutorial
Related tutorials
Volkswagen Golf
(2012-2019 /
Golf VII, MK 7, Golf 7)
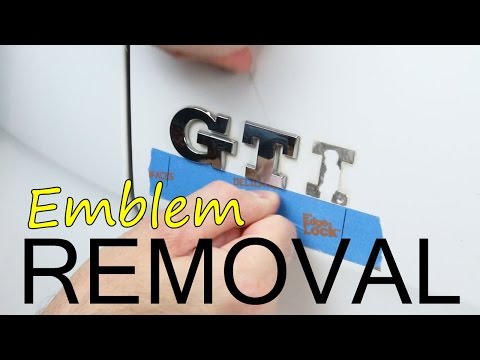
To replace the badges on the Volkswagen Golf, follow the same procedure for both the front and rear. Use a tool to pry and release the clips located …
Volkswagen Golf
(2012-2019 /
Golf VII, MK 7, Golf 7)
In this guide, we will see the instructions that will allow us to replace the GTI badge on the bodywork of the Volkswagen Golf. To remove the GTI bad…
Volkswagen Golf
(2008-2012 /
MK 6, Golf VI, Golf 6, 5K1)
In this video, learn how to insert radio station logos on a Volkswagen radio: go to setup, and click on "station logos". If there is a radio that doe…
Other guides you may be interested in
|
How to Connect the Cables to the Battery of the Citroen Xsara Picasso?
In this tutorial, you will see how to connect the cables to the battery of the Citroen Xsara Picasso, useful if you need to recharge it or perform an emergency start. First, ensure the key is not inserted, then open the bonnet and move to the front of the left headlamp. Next, locate the bolt just behind the filter box and connect the positive terminal clamp to it. Now you can connect the negative terminal to any point on the chassis, such as the indicated point. Once the operation is complete, ensure you disconnect the negative first and then the positive. by ScegliAuto More videos
|

|
For advertising on this site Write to info@scegliauto.com
ScegliAuto is not responsible for any inaccuracy of the data in the lists. To report any inaccuracy or your business (if you own the business in question), please write to info@scegliauto.com
Number of seconds to generate the page: 0.221
(c) ScegliAuto 2026 - info@scegliauto.com - Privacy policy VAT number: IT01247470535 |
