
|
Do it yourself
| |||
| ||||


How to Change the Fuel Pump on a Volkswagen Touareg
Model: Volkswagen Touareg
MK 1, 7L
- Years 2002-2010
The first thing to know about the fuel pump on the Volkswagen Touareg is that it is located under the rear passenger seat. To access it for the first time, you need to lift the seat, temporarily remove the seatbelt latch, and cut the carpet to expose the access cap for the pump. After the first time, it will be easier; you just need to remove the cover to access the tank where the pump is located, from the cap behind the driver's seat. In this video, diagnostics are performed using instrumentation, but simply open the cap, disconnect the electrical connectors, and the fuel pump will come out. Always wear protective gloves when working around fuel. Once removed, you can replace it, reconnect the connectors, and refit it.
Updated on 4 August 2026 by ScegliAuto
Video tutorial
Related tutorials
Volkswagen Touareg
(2002-2010 /
MK 1, 7L)
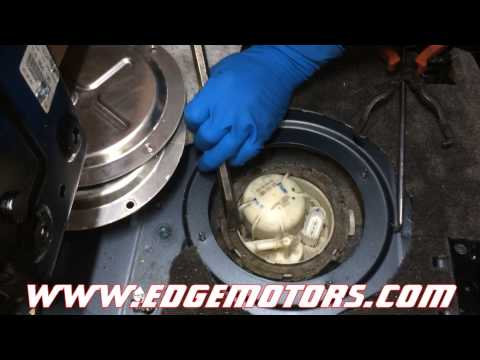
In this video, you can see where the fuel pump fuses are located in the Volkswagen Touareg, components to check if it suddenly stops working. As show…
Volkswagen Touareg
(2002-2010 /
MK 1, 7L)
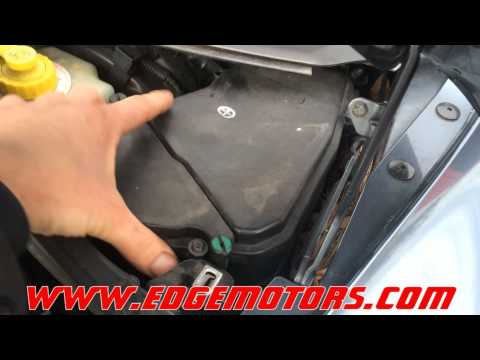
This video shows how to replace the fuel pump on a Volkswagen Touareg. The pump is located near the rear seat, so you need to lift the seat. It is si…
Volkswagen Touareg
(2002-2010 /
MK 1, 7L)
The following images show how to check the functionality and flow rate of the fuel pump. The car model being examined has two pumps, so two separate …
Other guides you may be interested in
|
Where is the Spare Wheel in the Peugeot 5008?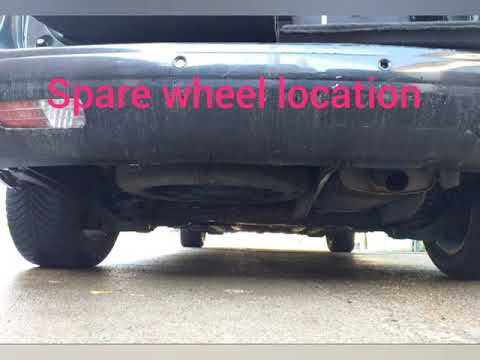
This video shows where the spare wheel is located in the Peugeot 5008 and how to access it, useful in case of a puncture. As shown, the wheel is not in the usual boot compartment but underneath it, outside the vehicle. To free the wheel, first gather the tools provided, then open the boot, locate the small indicated hatch, and open it. Next, loosen the bolt just released using the large socket wrench enough to lower the wheel to the ground. by ScegliAuto More videos
|
|
For advertising on this site Write to info@scegliauto.com
ScegliAuto is not responsible for any inaccuracy of the data in the lists. To report any inaccuracy or your business (if you own the business in question), please write to info@scegliauto.com
Number of seconds to generate the page: 0.073
(c) ScegliAuto 2026 - info@scegliauto.com - Privacy policy VAT number: IT01247470535 |
