
|
Do it yourself
| |||
| ||||


Checking the Functionality and Flow Rate of the Fuel Pump
Model: Volkswagen Touareg
MK 1, 7L
- Years 2002-2010
The following images show how to check the functionality and flow rate of the fuel pump. The car model being examined has two pumps, so two separate checks will be made. First, a pressure gauge is connected with appropriate fittings to check the correct working pressure with the engine running. After turning off the engine, the pressure drops after about ten minutes, indicating everything seems to be in order. Now, tests will be conducted on the flow rate, which is the amount of fuel reaching the engine from the pump. First, open the fuse box to locate the fuses and relays for the pumps as shown in the video. By removing the fuses and relays, each pump will be activated individually, collecting fuel in a calibrated container, noting that approximately 800 ml of fuel should be collected in about fifteen seconds. As you may have noticed, less fuel came from the first pump than from the second. Car model: VW Touareg V8 Year: 2004.
Updated on 11 February 2026 by ScegliAuto
Video tutorial
Related tutorials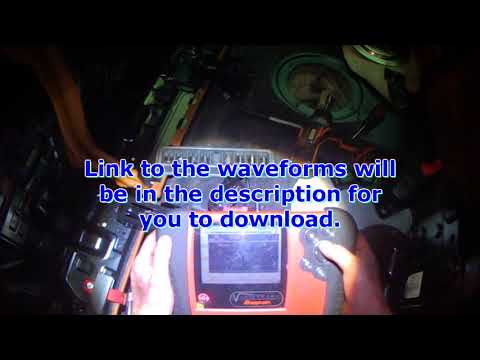
Volkswagen Touareg
(2002-2010 /
MK 1, 7L)
The first thing to know about the fuel pump on the Volkswagen Touareg is that it is located under the rear passenger seat. To access it for the first…
Volkswagen Touareg
(2002-2010 /
MK 1, 7L)
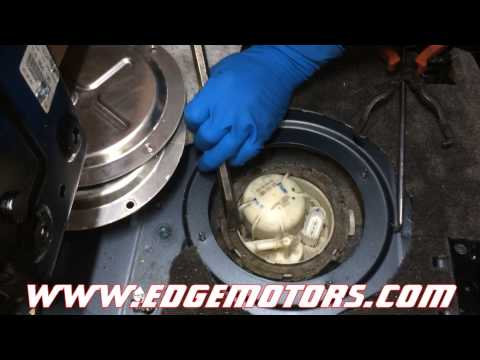
This video shows how to replace the fuel pump on a Volkswagen Touareg. The pump is located near the rear seat, so you need to lift the seat. It is si…
Volkswagen Touareg
(2002-2010 /
MK 1, 7L)
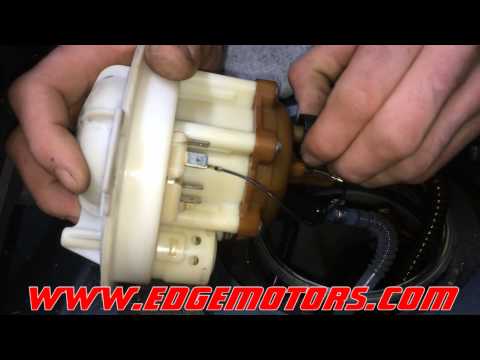
In the case of the vehicle in question, the fuel filter is integrated within the pump located in the tank, beneath the rear seat: replacing the filte…
Other guides you may be interested in
|
How to Reset the Tyre Pressure Light on the Opel Grandland X
While driving, if you notice the tyre pressure warning light coming on, first check the actual inflation pressure of the tyres and, if necessary, restore the pressures recommended by the manufacturer. After restoring the correct pressures, you need to reset the warning light that has illuminated on the instrument cluster. To do this, locate the reset button on the lower central console. Press this button and hold it down for at least 3 seconds, after which the low pressure indication will turn off. by ScegliAuto More videos
|
|
For advertising on this site Write to info@scegliauto.com
ScegliAuto is not responsible for any inaccuracy of the data in the lists. To report any inaccuracy or your business (if you own the business in question), please write to info@scegliauto.com
Number of seconds to generate the page: 0.252
(c) ScegliAuto 2026 - info@scegliauto.com - Privacy policy VAT number: IT01247470535 |
