
|
Do it yourself
| |||
| ||||


How to disassemble the car radio of a Volkswagen Golf?
Model: Volkswagen Golf
MK 6, Golf VI, Golf 6, 5K1
- Years 2008-2012
To disassemble the radio of a Volkswagen Golf, start by removing the frame surrounding the radio. Use appropriate tools to lift it gently. Once the frame is removed, you can access the screws holding the radio in place. The screws may be Torx type, so make sure you have the right tool to unscrew them. Unscrew them carefully and keep them in a safe place. After removing the screws, the radio should be ready to be extracted. Use the appropriate tools to release it from its housing, paying attention to the cables and connectors on the back. Once extracted, disconnect the connectors and cables to completely separate the radio from the car. Make sure to carefully store the screws and other removed components for reassembly.
Posted on 28 April 2024 by ScegliAuto
Video tutorial
Related tutorials
Volkswagen Golf
(1991-1997 /
Golf III, MK 3, Golf 3)
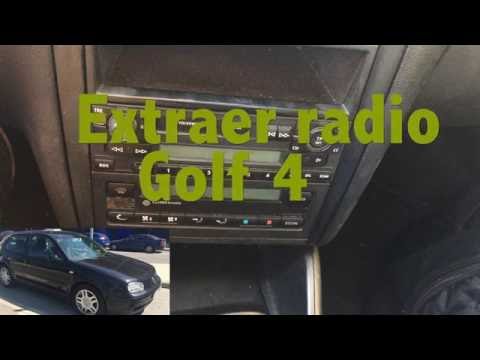
The instructions provided in this guide will show us how to disassemble and replace the stock radio of the Volkswagen Golf, as well as the Jetta. Fir…
Volkswagen Golf
(1997-2003 /
Golf IV, MK 4, Golf 4)
Follow these simple and quick steps to remove and replace the standard radio from a Volkswagen Golf. First, get inside the vehicle; to extract the ra…
Volkswagen Golf
(2012-2019 /
Golf VII, MK 7, Golf 7)
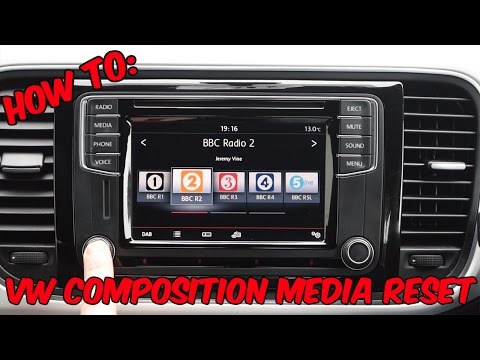
To reset a "composition media" radio in a Volkswagen, this video is demonstrated on a Volkswagen Golf, but it can be found in other Volkswagen group …
Other guides you may be interested in |
How to Reset the Tyre Pressure Light on the Opel Grandland X
While driving, if you notice the tyre pressure warning light coming on, first check the actual inflation pressure of the tyres and, if necessary, restore the pressures recommended by the manufacturer. After restoring the correct pressures, you need to reset the warning light that has illuminated on the instrument cluster. To do this, locate the reset button on the lower central console. Press this button and hold it down for at least 3 seconds, after which the low pressure indication will turn off. by ScegliAuto More videos
|
|
For advertising on this site Write to info@scegliauto.com
ScegliAuto is not responsible for any inaccuracy of the data in the lists. To report any inaccuracy or your business (if you own the business in question), please write to info@scegliauto.com
Number of seconds to generate the page: 0.192
(c) ScegliAuto 2026 - info@scegliauto.com - Privacy policy VAT number: IT01247470535 |
