
|
Do it yourself
| |||
| ||||


|
Model: Yamaha Majesty 400
How to replace the indicator bulb on a Yamaha Majesty 400? First, unscrew the two screws located under the plastic windscreen to remove it; if you encounter difficulties, you can use a small screwdriver or a plastic lever for assistance. Once the windscreen panel is removed, you can access the two headlights containing the indicator bulbs. At this point, simply pull out the bulbs to be replaced and insert the new indicator bulbs in their place. Now reposition the headlights and proceed to re-screw the windscreen.
Updated on 24 April 2026 by ScegliAuto
Video tutorial
Related tutorials
Majesty 400
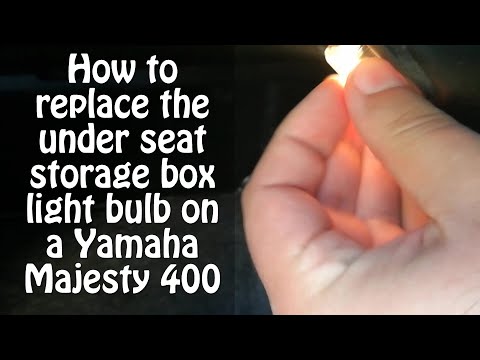
Before you can start, position your Yamaha Majesty 400 on the centre stand. Begin by turning the handlebars to the left. Next, unclip and remove the …
Majesty 400
Before you can start, position your Yamaha Majesty 400 on its centre stand. First, open the underseat compartment and remove all items inside. Next, …
Majesty 400
If you notice the drive belt warning light on the dashboard of your Yamaha Majesty 400, do not worry because with the following guide you will be abl…
|
How to Remove the Front Wheel of a Vespa LX 125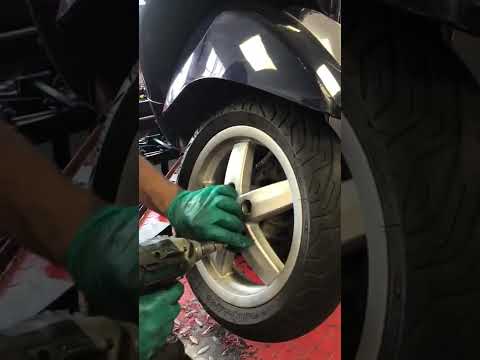
To correctly remove the front wheel of your Vespa LX 125, follow these few simple steps outlined in this guide. Before starting, ensure you have a battery-powered screwdriver available. Next, completely turn off your Vespa LX 125 and preferably leave it in an elevated position. At this point, use your battery-powered screwdriver to remove all the screws on the rim. Once done, gently pull the front wheel towards you to fully detach it. by ScegliAuto More videos
|
|
For advertising on this site Write to info@scegliauto.com
ScegliAuto is not responsible for any inaccuracy of the data in the lists. To report any inaccuracy or your business (if you own the business in question), please write to info@scegliauto.com
Number of seconds to generate the page: 0.007
(c) ScegliAuto 2026 - info@scegliauto.com - Privacy policy VAT number: IT01247470535 |
