
|
Do it yourself
| |||
| ||||


How to Replace the Rear Indicators on a Yamaha Aerox
Model: Yamaha Aerox
Video tutorial
In this brief guide, we will see how to remove the rear indicators and the rear light of the Yamaha Aerox scooter. First, open and lift the seat of your scooter; then unscrew all the screws on the sides, removing the engine cover, as shown in the video. At this point, remove the upper support of the headlamp and then detach it by disconnecting the electrical connector; unscrew the indicator screws using a socket spanner, remove them, and replace them with new ones. Follow the video to the end for reassembly!
Updated on 30 May 2026 by ScegliAuto
Related tutorials
Aerox
On the Yamaha Aerox scooter, removing the side indicators is very simple: just unscrew the two small screws that are clearly visible from the outside…
Aerox
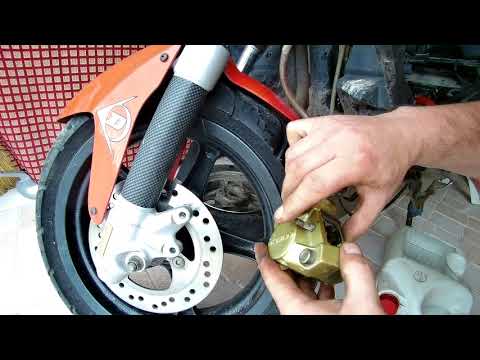
In this tutorial, you will learn how to remove and replace the front brake pads, which also applies to the rear pads, on the Yamaha Aerox R scooter. …
Aerox
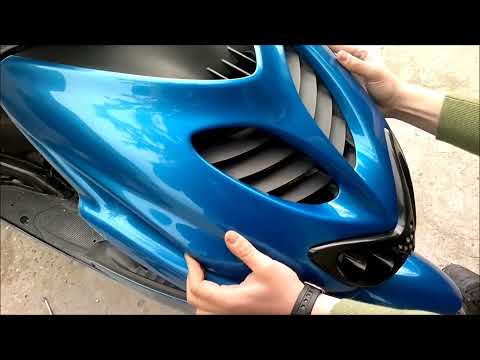
Before you can start, head to the front side of your Yamaha Aerox scooter. Begin by unscrewing and removing the screws that secure the front fairing …
|
How to replace the clutch lever on the Sherco SEF 300?
To replace the clutch lever on the Sherco SEF 300, you need to loosen the screws that secure the lever to its housing on the left side of the handlebars. Once these screws are loosened, you can unscrew the nut at the base of the lever to disconnect the clutch cable attached to the corresponding lever. Once the cable is detached, the lever can be removed from its housing and replaced with a new spare part; after installation, ensure that it functions correctly. by ScegliAuto More videos
|
|
For advertising on this site Write to info@scegliauto.com
ScegliAuto is not responsible for any inaccuracy of the data in the lists. To report any inaccuracy or your business (if you own the business in question), please write to info@scegliauto.com
Number of seconds to generate the page: 0.009
(c) ScegliAuto 2026 - info@scegliauto.com - Privacy policy VAT number: IT01247470535 |
