
|
Do it yourself
| |||
| ||||


Model: Yamaha Aerox
In this tutorial, you will learn how to remove and replace the front brake pads, which also applies to the rear pads, on the Yamaha Aerox R scooter. First, position the central stand of your scooter and start by removing the fixing screws of the front brake caliper; then remove the retaining pin or clip of the pads using pointed pliers, and take out the brake pads as shown in the video. At this point, clean the caliper of dirt and reassemble the new pads by applying the reverse procedure!
Updated on 24 April 2026 by ScegliAuto
Video tutorial
Related tutorials
Aerox
In order to replace the front brake pads of the Yamaha Aerox, you need to loosen the screws that secure the brake caliper to the corresponding front …
Aerox
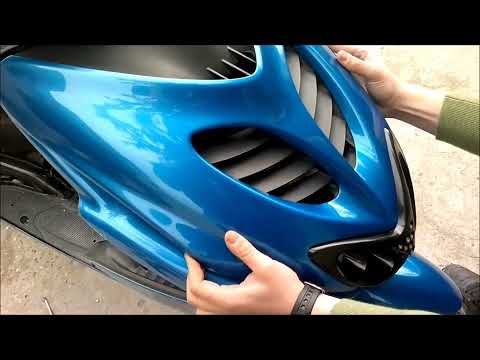
Before you can start, head to the front side of your Yamaha Aerox scooter. Begin by unscrewing and removing the screws that secure the front fairing …
Aerox
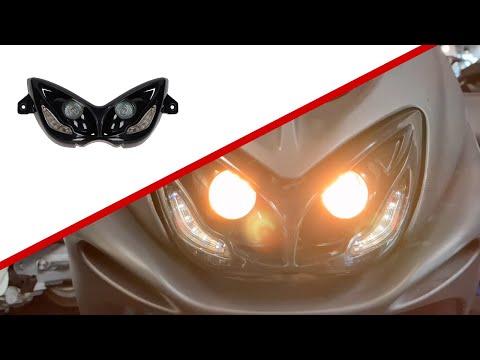
To replace the headlight on the Yamaha Aerox, loosen the two screws located under the handlebars to completely remove the front fairing. Attached to …
|
How to Reset the Oil Light on a Honda PCX 160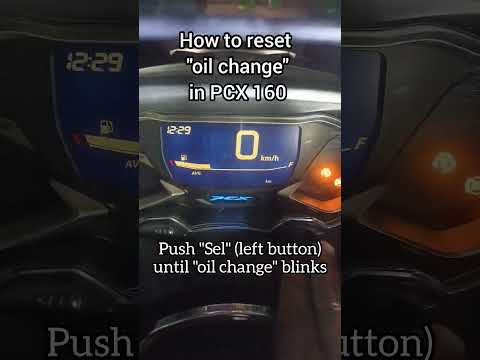
In this mini guide, discover the steps to manually reset the oil light on the central display of your Honda PCX 160. First, turn on the ignition with the key and press both the 'Sel' and 'Set' buttons located below it simultaneously. When the time starts to flash, hold 'Sel' until the oil indicator flashes, then press the 'Set' button once. To complete the reset, hold 'Sel' again until the operation is finished. by ScegliAuto More videos
|
|
For advertising on this site Write to info@scegliauto.com
ScegliAuto is not responsible for any inaccuracy of the data in the lists. To report any inaccuracy or your business (if you own the business in question), please write to info@scegliauto.com
Number of seconds to generate the page: 0.494
(c) ScegliAuto 2026 - info@scegliauto.com - Privacy policy VAT number: IT01247470535 |
