
|
Do it yourself
| |||
| ||||


|
Model: Yamaha Majesty 400
To replace the belt on the Yamaha Majesty 400, start by loosening the screws that secure the cover positioned on the left side of the bike, near the rear wheel. Once the bolts securing this cover are loosened, you can remove the cover to access the belt and other components underneath. Specifically, you will need to loosen the bolts that secure the variator and the clutch bell, removing the parts and the belt itself. At this point, you can insert a new belt, reassembling all the parts removed earlier.
Updated on 21 June 2026 by ScegliAuto
Video tutorial
Related tutorials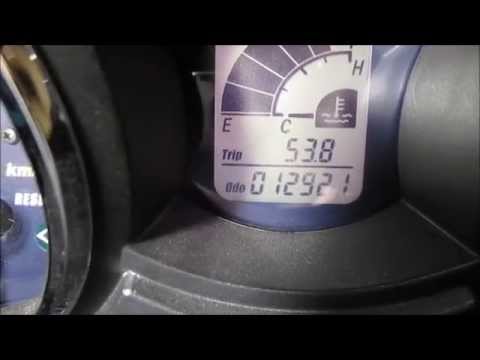
Majesty 400
If you notice the drive belt warning light on the dashboard of your Yamaha Majesty 400, do not worry because with the following guide you will be abl…

Majesty 400
In this tutorial we can see how to reset the V-Belt warning light on the Yamaha Majesty 400 scooter, an extremely simple and quick operation, to be c…

Majesty 400
To replace the clutch on a Yamaha Majesty 400, first loosen the screws securing the left side panel of the bike near the rear wheel. Once this panel …
|
How to Check the Coolant Level in a Yamaha Xmax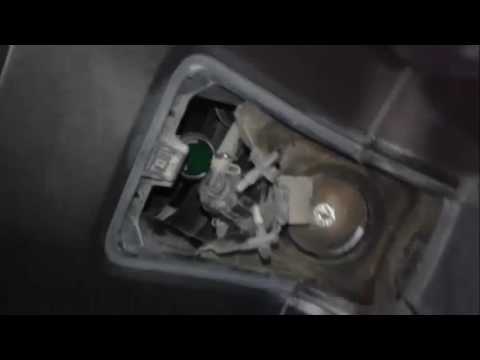
In the following video, you will learn how to check the coolant level in a 2008 Yamaha Xmax. First, position the motorcycle on a stable surface by raising the stand. Next, lift the cover located at the top of the motorcycle to access the coolant drain bolt. To top up the coolant, unscrew the cap as shown in the video and add the fluid until it reaches the maximum level, indicated as Max. Once finished, close the valve and refit the cover. At this point, start the engine and let it run at idle for a few minutes to eliminate any air bubbles that may have formed inside. by ScegliAuto More videos
|
|
For advertising on this site Write to info@scegliauto.com
ScegliAuto is not responsible for any inaccuracy of the data in the lists. To report any inaccuracy or your business (if you own the business in question), please write to info@scegliauto.com
Number of seconds to generate the page: 0.007
(c) ScegliAuto 2026 - info@scegliauto.com - Privacy policy VAT number: IT01247470535 |
