
|
Do it yourself
| |||
| ||||


Rear Brake Disc and Pad Replacement
Model: Audi A6
MK 2, C5
- Years 1997-2004
Lift the vehicle on a lift and remove the wheel corresponding to the repair area.
Remove the mounting pins of the brake caliper located at the rear and take it off its mount (if necessary, also remove the caliper support). Tap the disc with a hammer to free it from the hub and remove it. Clean the hub and the pad seating on the support from any oxidation residue and apply grease to prevent new rust formation. Then install the new brake disc and secure it with a wheel mounting pin. Insert the new pads into the respective support; retract the caliper piston (using the appropriate tool) and reposition it on the support by tightening the respective mounting pins.
Updated on 3 February 2026 by ScegliAuto
Video tutorial
Related tutorials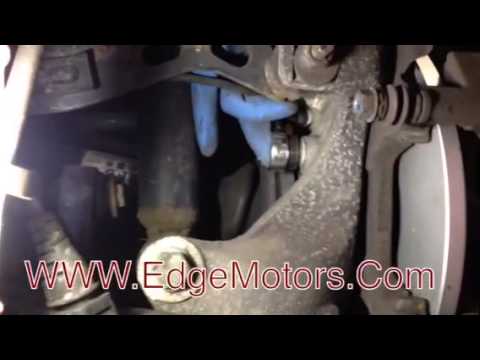
Audi A6
(2004-2012 /
MK 3, C6)
Replacing the brake pads is a fairly simple task. For the rear brake, compared to the front, it requires removing the wheel for better access. The pr…
Audi A6
(1997-2004 /
MK 2, C5)
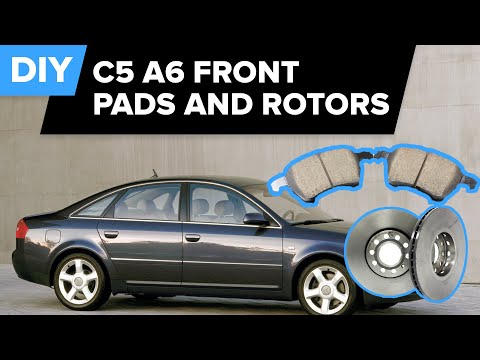
A mechanic demonstrates how to remove and replace the brake discs and pads. He shows the vehicle already lifted with the wheels removed.
In this vid…
Audi A6
(2004-2012 /
MK 3, C6)
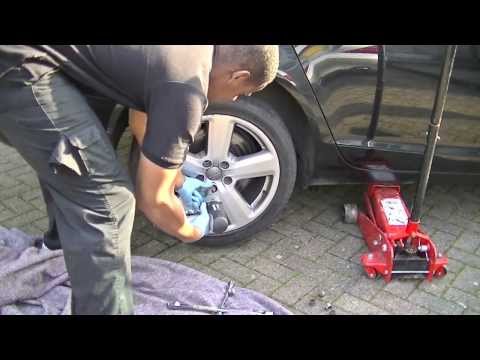
The following guide outlines a simple and useful method to replace the brake pads on your car, with a bit of free time and patience. First, remove th…
Other guides you may be interested in
|
Where is the Fuel Filter Located in a Volvo XC60?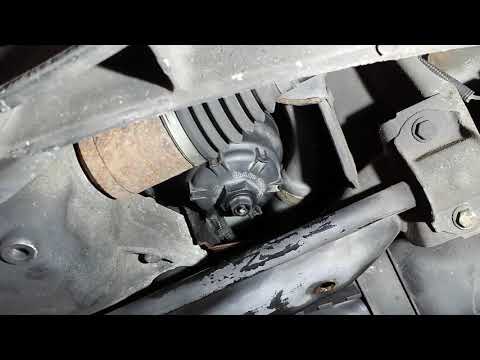
In this video, you will see where the fuel filter is located in a Volvo XC60 and how to proceed if you need to replace it. As shown, the filter is positioned at the lower part of the engine, right between the left half-shaft and the sway bar attachment. To replace the filter, first, go underneath the vehicle, taking all necessary safety precautions. Then, using an 18mm wrench, open the drain valve and allow any water present to escape. Next, unscrew the housing, remove the old filter, insert the replacement along with a new gasket, and reassemble everything. by ScegliAuto More videos
|
|
For advertising on this site Write to info@scegliauto.com
ScegliAuto is not responsible for any inaccuracy of the data in the lists. To report any inaccuracy or your business (if you own the business in question), please write to info@scegliauto.com
Number of seconds to generate the page: 0.377
(c) ScegliAuto 2026 - info@scegliauto.com - Privacy policy VAT number: IT01247470535 |
