
|
Do it yourself
| |||
| ||||



Keyless Handle Replacement on an Audi A5 Comfort Opening
Model: Audi A5
8W6
- Years:
2018, 2019, 2020, 2021, 2022, 2023, 2024, 2025
Video tutorial
The issue is that the keyless entry system is not functioning on this 2013 Audi A5; the car does not open or close by touching the square on the handle, while the boot works normally. A faulty handle can disable the entire system. Unfortunately, with a basic OBD2, we cannot see the error; a professional tool is required. Therefore, we need to replace the front and rear handles by removing the rubber on the door thickness, unscrewing the screw with a Torx key, sliding out the cylinder, and extracting the handle, being careful with the electrical connector, then replacing the internal component (the keyless sensor). For reassembly, reconnect the connector, reinsert the handle, remount the cylinder and screw, and repeat for all faulty handles. After replacement, the error remains in the control unit, so it is necessary to clear the error codes with the diagnostic tool.
Posted on 10 October 2026 by ScegliAuto
Related tutorials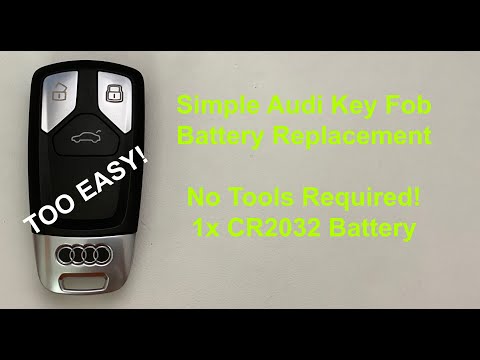
Audi A5
(2007-2016 /
8T8, 8T, 8T3, 8F)
Let's see how to replace the battery in the remote for our Audi A5; the same procedure applies to Audi A4, Audi TT, and other models from the same ma…

Audi A5
(2007-2016 /
8T8, 8T, 8T3, 8F)
This guide provides the main instructions for removing and replacing the fuel pump on the Audi A5. The low-pressure fuel pump is located under the re…

Audi A5
(2007-2016 /
8T8, 8T, 8T3, 8F)
In today's video tutorial, you will learn how to dismantle the rear light of an Audi A5. First, open the boot lid and remove the side cover covered i…
Other guides you may be interested in
|
How to Remove the Rear Bumper on a Peugeot 308
This article outlines the procedure to remove and replace the rear bumper on a Peugeot 308 T9. First, remove the screws located in the wheel arch of the rear wheels, then remove the plastic clips underneath the bumper. Next, take off the wheel arch cover, and remove the plastic nut. After removing the nut, disconnect the connectors present. Now, remove the fixing screws located underneath the bumper and also the plastic clips. Once all clips and screws are removed, you can take off the bumper for repair or replacement. by ScegliAuto More videos
|
|
For advertising on this site Write to info@scegliauto.com
ScegliAuto is not responsible for any inaccuracy of the data in the lists. To report any inaccuracy or your business (if you own the business in question), please write to info@scegliauto.com
Number of seconds to generate the page: 0.115
(c) ScegliAuto 2026 - info@scegliauto.com - Privacy policy VAT number: IT01247470535 |
