
|
Do it yourself
| |||
| ||||



How to Replace a Xenon Bulb on an Audi Q3
Model: Audi Q3
- Years:
2011, 2012, 2013, 2014, 2015, 2016, 2017, 2018
Video tutorial
On the Audi Q3 (8U, 2012), replacing the xenon bulb is simpler than it seems. First: turn off the lights and remove the key, as xenon lamps are high voltage and should be handled with care. Open the hood. Locate the rear cover of the headlight, held by three plastic clips: press them inward and remove the cover. Caution: do not lose the rubber gasket and the cover itself, or water will enter the headlight. Inside is the bulb holder. There is a tab to press and slide to release the connector. Disconnect the connector (located at the bottom) first, then grasp the bulb with two fingers and detach it from the socket. Never touch the glass of the bulb with your fingers: skin oils can damage it. The bulb is a D3R (in the video) or D3S (in other models), available on Amazon with code B0D14YG63V at a price of $30.39 per pair, with free shipping for Prime members. Insert the new bulb in the only possible direction, reconnect the connector at the bottom, and snap the locking tab into place. Reattach the cover by snapping all the clips. The job is complete.
Posted on 5 November 2026 by ScegliAuto
Related tutorials
Audi Q3
(2011-2018 /
8U)
Today, you will learn the steps to remove and replace the headlight bulb on an Audi Q3. First, open the hood of your car and start by removing the bu…

Audi Q3
(2018-2025 /
F3)
To replace the headlight bulb on an Audi Q3, turn off the engine and lights, then open the hood. Locate the affected headlight assembly and remove th…

Audi Q3
(2011-2018 /
8U)
Today we will explain how to replace the bulb in the front headlight of the 2015 Audi Q3 model. For the bulb replacement, we will purchase a ds3 mode…
Other guides you may be interested in
|
How to Set the Time on an Audi A6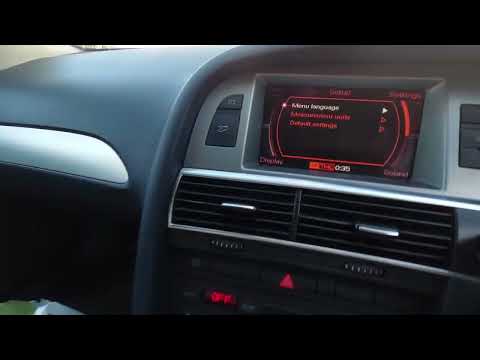
Briefly, we will see the instructions to set the time on the Audi A6 by following these simple steps. First, get inside the vehicle and turn on the instrument cluster; then press the settings button and navigate to the time option to confirm your choice, as shown in the video. At this point, set the correct time and format, then exit the settings menu to save the changes made; finally, start the engine and ensure that the time has been set correctly! by ScegliAuto More videos
|
|
For advertising on this site Write to info@scegliauto.com
ScegliAuto is not responsible for any inaccuracy of the data in the lists. To report any inaccuracy or your business (if you own the business in question), please write to info@scegliauto.com
Number of seconds to generate the page: 0.005
(c) ScegliAuto 2026 - info@scegliauto.com - Privacy policy VAT number: IT01247470535 |
