
|
Do it yourself
| |||
| ||||


How to replace the third stop of the Audi A6 avant
Model: Audi A6
C6, MK 3
- Years 2004-2012
On the upper edge of the rear bonnet of this Audi model there is the third LED stop: to be able to replace it and therefore disassemble it, the plastic covering covering of the bonnet itself should be removed; however it is possible to unhook the upper band only and move it away by inserting a thickness such as a roll of scotch tape as shown in the video: the plastic is flexible enough to be removed without being damaged; at this point, press on the metal tabs that secure the third stop to the bodywork and unhook it to move it away from its seat and disconnect the power socket; spray some contact spray on the socket before connecting it to the new stop and proceed backwards to install it.
Posted on 14 May 2020 by ScegliAuto
Video tutorial
Related tutorials
Audi A6
(2004-2012 /
C6, MK 3)
Today we will see the instructions that will allow us to disassemble and replace the third brake light bulbs of the Audi A6. First, we open the rear …

Audi A6
(2011-2018 /
C7, MK 4)
In this video, we can see how to disassemble the third brake light on the Audi A6 C7 sedan and station wagon. For the sedan, this light is located in…

Audi A6
(2011-2018 /
C7, MK 4)
In this video we can see how to disassemble the rear wiper panel of the Audi A6 Avant; it was leaking water from the disconnected tube which has been…
Other guides you may be interested in
|
Removing the Front Arm Bushing of a Hyundai Getz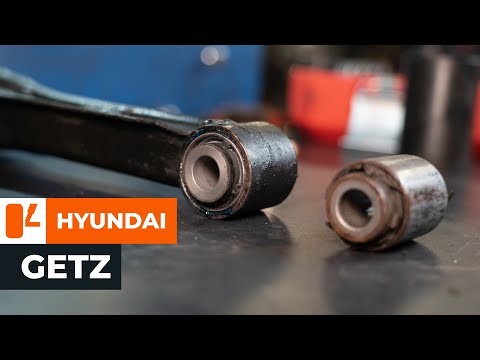
Let's look at removing the front arm bushing of a Hyundai Getz. First, place the car on a column lift and loosen the wheel nuts with a telescopic spanner, then remove the wheel. Use a socket spanner to unscrew the lower securing bolt of the arm and the bolt mounted under the wheel hub, then unscrew the bolts on the upper part of the arm (as shown in the video). Remove the bushing from the bolt housing. Always compare the parts to be replaced with the new ones; if they are suitable, you can install them. Start the installation of the new part: fit the new bushing and tighten all bolts to the specified torque. Double-check the correct tightening of the parts. Refit the wheel to complete the job. by ScegliAuto More videos
|
|
For advertising on this site Write to info@scegliauto.com
ScegliAuto is not responsible for any inaccuracy of the data in the lists. To report any inaccuracy or your business (if you own the business in question), please write to info@scegliauto.com
Number of seconds to generate the page: 0.068
(c) ScegliAuto 2026 - info@scegliauto.com - Privacy policy VAT number: IT01247470535 |