
|
Do it yourself
| |||
| ||||


How to disassemble the trunk lining of the Audi A6 Avant
Model: Audi A6
C7, MK 4
- Years 2011-2018
In this video we can see how to disassemble the rear wiper panel of the Audi A6 Avant; it was leaking water from the disconnected tube which has been reconnected, but it still leaks from the motor so the part needs to be sealed with silicone. To reach these components we need to disassemble the panel, unscrewing all the screws we find, except for those of the headlights. At the base of the rear window there are four screws, and the opening lights must be disconnected. There are other screws on the top and then we will have to pull with some force, because there are metal clips that need to be removed. The same goes for the upper panel covering the third brake light: the work is not difficult but it requires some time and a lot of attention. The water that is being lost is not a problem for the control units, which are elsewhere, but it can fill the tailgate causing mold and bad odors. If you want to remove the rear lights, now is the best time, because you just need to remove the side screws and the light assembly comes out, of course removing the connector.
Posted on 26 December 2024 by ScegliAuto
Video tutorial
Related tutorials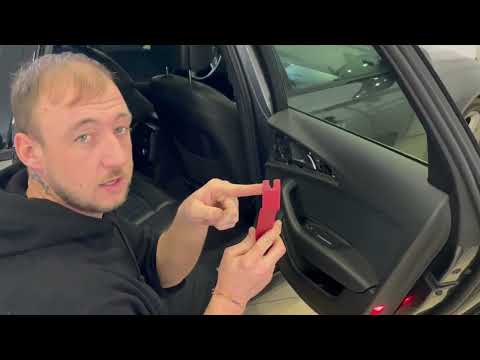
Audi A6
(2011-2018 /
C7, MK 4)
In this tutorial, you will see how to remove the front door panel on an Audi A6 Avant, a very simple and quick operation. First, open the door in que…

Audi A6
(2011-2018 /
C7, MK 4)
The replacement of the timing chain is not a job that can be done in the home garage, we must acknowledge that. It is a long and complex job, requiri…
Audi A6
(2004-2012 /
MK 3, C6)
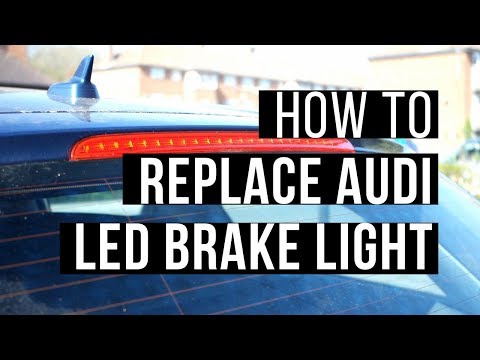
On the upper edge of the rear hatch of this Audi model, the LED third brake light is located. To replace it, you should remove the plastic cover of t…
Other guides you may be interested in
|
How to Check the Oil Level on a Jeep Renegade?
To check the oil level on a Jeep Renegade, you need to open the bonnet to access the components inside the engine bay: on the lower left side of the engine block, you will find the dipstick for checking the level. This should be pulled out and thoroughly cleaned with a cloth: once cleaned, reinsert it back into its tube and pull it out immediately after. This way, you can check that the oil mark is between the minimum and maximum levels; finally, you can place the dipstick back in its tube. by ScegliAuto More videos
|

|
For advertising on this site Write to info@scegliauto.com
ScegliAuto is not responsible for any inaccuracy of the data in the lists. To report any inaccuracy or your business (if you own the business in question), please write to info@scegliauto.com
Number of seconds to generate the page: 0.837
(c) ScegliAuto 2026 - info@scegliauto.com - Privacy policy VAT number: IT01247470535 |
