
|
Do it yourself
| |||
| ||||


Removing the Front Bumper on the Audi Q5
Model: Audi Q5
MK 2, 80A
- Years 2017-2025
To remove the front bumper from the Audi Q5, secure the vehicle on a stable and safe surface or place it on a lift. First, open the hood of the engine compartment and remove all the clips located at the top that hold the upper plastic cover (as shown in the video images). Next, use the appropriate wrench to remove two screws that secure the bumper. These are located on the sides, inside the headlight assembly. Also, remove the nine screws that secure the cover at the bottom of the vehicle, and the six screws (three on each side), plus another nine, also at the bottom of the vehicle, that hold the splash shield in place. After this, remove four additional screws located in the lower area of the bumper, closer to the front, and the four side screws (two on each side) near the fenders. Finally, carefully pull the bumper away from its position, making sure to disconnect the electrical connector for the license plate light.
Updated on 20 March 2026 by ScegliAuto
Video tutorial
Related tutorials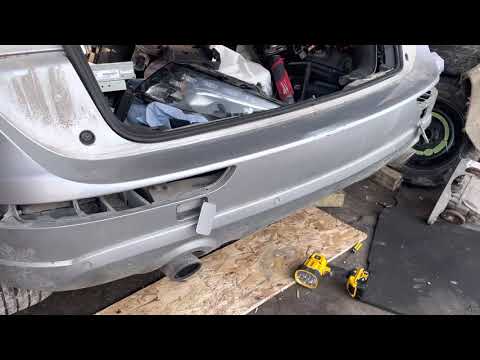
Audi Q5
(2017-2025 /
MK 2, 80A)
To proceed with the disassembly of the rear bumper of the car it is necessary to proceed as follows: unscrew the five screws located on the external …
Audi Q5
(2017-2025 /
MK 2, 80A)
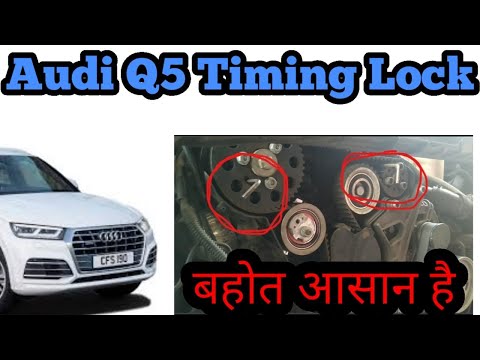
Let's find out in this guide the main steps that will allow us to remove and replace the timing belt of the Audi Q5 2.0 TDI. First of all we open the…
Audi Q5
(2008-2017 /
8R, MK 1)
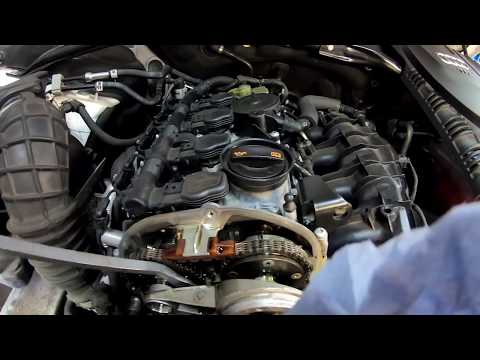
In today's video tutorial we will see the main instructions that will allow us to disassemble and replace the timing chain on the Audi Q5 first serie…
Other guides you may be interested in
|
How to Remove the Gear Knob on an Opel Astra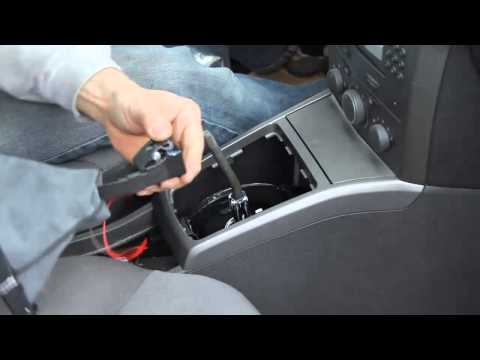
How to replace the gear knob on an Opel Astra? Follow these steps: use a plastic lever to disconnect the leather gaiter frame (if you need to replace it). Grip the knob with both hands and pull it upwards (with a strong and decisive motion) until it comes off the gear stick. For installation: fit the new gaiter and position it on the centre tunnel, take the new knob and push it onto the stick, tightening it until fully threaded. Test the movement of the stick on the centre tunnel to ensure the knob is correctly fitted. by ScegliAuto More videos
|

|
For advertising on this site Write to info@scegliauto.com
ScegliAuto is not responsible for any inaccuracy of the data in the lists. To report any inaccuracy or your business (if you own the business in question), please write to info@scegliauto.com
Number of seconds to generate the page: 0.075
(c) ScegliAuto 2026 - info@scegliauto.com - Privacy policy VAT number: IT01247470535 |