
|
Do it yourself
| |||
| ||||


Replacing the Boot and Maintaining the Joint
Model: Audi A6
MK 2, C5
- Years 1997-2004
In this tutorial, the boot of a drive axle joint on an Audi A6 is replaced. Remove the wheel corresponding to the joint you will be working on. Remove the brake rotor with a 17 mm Allen wrench. Take off the piece that protects the joint, then unscrew the bolts that secure the drive axle. Turn the steering wheel fully to the right and slide out the drive axle. Place it in a bench vise and remove the clamp that secures the worn joint boot. Extract the joint (using a hammer if necessary). Disassemble the joint and carefully clean each part. Dry each piece, and if you are also maintaining the other joint of the drive axle, swap the components (right with left and vice versa) to extend their efficiency. Carefully reassemble the joint. Take a new boot and install it on the drive axle; mount and secure the clamp that holds it. Release the air from the boot using a small screwdriver as a lever to let it vent. Reassemble everything by reversing the disassembly steps.
Updated on 10 February 2026 by ScegliAuto
This video is currently unavailable
Related tutorials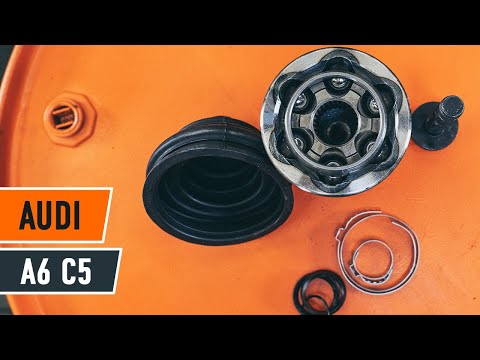
Audi A6
(1997-2004 /
MK 2, C5)
In this video tutorial we can see how to replace the constant velocity joint of the Audi A6. The first thing to do is to loosen the front wheel rim b…

Audi A6
(2004-2012 /
MK 3, C6)
Today we will explain how to replace the knob and shift boot of the Audi A6. This operation can be easily done on your own thanks to our short video …

Audi A6
(2004-2012 /
MK 3, C6)
In the video, we can see how to dismantle and reassemble the gear knob and shift boot. As a first step, we need to remove the base of the shift boot,…
Other guides you may be interested in
|
How to Remove the Engine Oil Filter of the Peugeot 308
How do you remove the engine oil filter of the Peugeot 308? Follow this guide to proceed with the replacement. Open the car door and pull up the engine compartment release lever located at the bottom left of the dashboard, then lift the front bonnet and secure it. Using a socket wrench, unscrew the large securing bolt of the container cap where the oil filter is located (engine compartment under the ventilation pipe). Drain the used oil from under the engine sump. Remove the worn oil filter and position a new one, ensuring it adheres well around the walls of the housing. Finally, refit the ventilation pipe and top up the engine oil. Close the front bonnet last. by ScegliAuto More videos
|
|
For advertising on this site Write to info@scegliauto.com
ScegliAuto is not responsible for any inaccuracy of the data in the lists. To report any inaccuracy or your business (if you own the business in question), please write to info@scegliauto.com
Number of seconds to generate the page: 0.071
(c) ScegliAuto 2026 - info@scegliauto.com - Privacy policy VAT number: IT01247470535 |