
|
Do it yourself
| |||
| ||||


How to Remove the Tailgate Panel of the Audi A6
Model: Audi A6
MK 3, C6
- Years 2004-2012
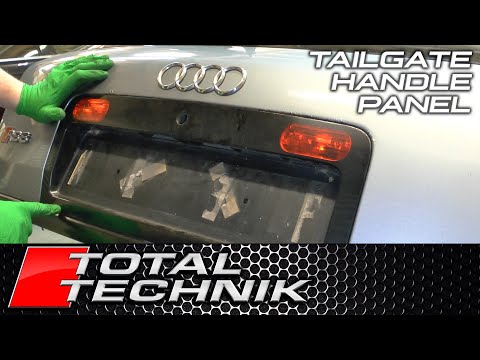
Open the trunk of your vehicle and use a plastic tool to pry off the red lights on the top of the tailgate and disconnect the connectors. Now, you need to unscrew the screws that are well hidden on the top of the tailgate. There is a hand screw in the center at the top that you must turn to open the panel where the warning triangle is located, and on the back, you can see the two holes where the screws need to be removed. Now comes a slightly delicate part; you will need to use a special lever to lift the plastic parts on the columns next to the rear window. You will need to perform the same operation on the plastic around the upper edge of the tailgate. Now, there are two levers left to disengage to completely remove the panel, but be careful of the connected connectors.
Updated on 23 February 2026 by ScegliAuto
Video tutorial
Related tutorials
Audi A6
(1997-2004 /
MK 2, C5)
In order to remove the inner panel of the rear tailgate of the Audi A6, you need to loosen the screws that secure the panel to its housing: these scr…
Audi A6
(1997-2004 /
MK 2, C5)
The illustrated instructions in this guide will show you how to disassemble and replace the rear trunk panel with the reflectors of the Audi A6. Firs…

Audi A6
(1997-2004 /
MK 2, C5)
To remove the inner panel of the rear hatch of the Audi A6, lift the hatch itself and loosen the two screws located at the base of the panel. Once th…
Other guides you may be interested in
|
How to Adjust the Brightness of the Instrument Cluster on a Peugeot 3008?
To adjust the brightness of the instrument cluster on a Peugeot 3008, you need to turn on the ignition and access the settings via the menu located in the central area of the dashboard. In the screen that appears, select the "Display Configuration" option: now, by selecting the "Brightness" option, you can adjust it using the dedicated slider that will appear on the screen. The adjustment should be made with the headlights on as well as with them off. Once the adjustment is complete, you can turn off the instrument cluster. by ScegliAuto More videos
|
For advertising on this site Write to info@scegliauto.com
ScegliAuto is not responsible for any inaccuracy of the data in the lists. To report any inaccuracy or your business (if you own the business in question), please write to info@scegliauto.com
Number of seconds to generate the page: 0.109
(c) ScegliAuto 2026 - info@scegliauto.com - Privacy policy VAT number: IT01247470535 |
